How to Change Hair Colour in Photoshop
How many times have we seen people carry off different hair colours and wished we could do that too? I, personally, would gush over, every time Katy Perry or Kylie Jenner would sport a new wacky, hair colour and rock it like a boss.
However, wanting to change your hair colour is a huge decision and is more often than not met with restrictions of all kinds. Maybe your inner voice will tell you that it won’t look as good as it does in your head or your parents or your workplace would not allow you to sport a head full of that perfect Persian blue hair. But should that stop you?
Photoshop is here to rescue you! Just because you cannot ACTUALLY colour your hair (momentarily), you should not stop from doing so virtually. Photoshop is a wondrous tool for all sorts of photo editing, with which you can make your hair colour lighter, darker or change its colour entirely.
So let us get started. Here are a few, easy steps for a beginner to use Photoshop and change their hair colour.
What do we need?
- Adobe Photoshop software
- A sample picture
Step 1: Open Photoshop
Double click on the Photoshop shortcut icon to launch the application. Once that is done, we go to the File option present on the menu bar, click on it and select Open. We will now locate our picture location, click on the picture and click Open. The desired picture can now be seen on the screen.

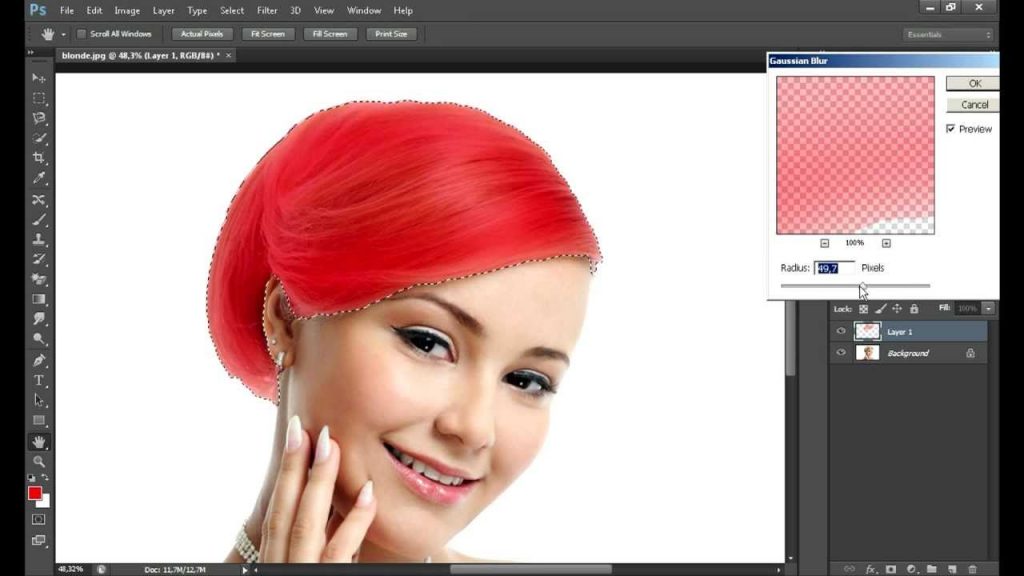
Step 2: Add a new layer.
To make a new layer in Photoshop, we will click on the ‘Create A New Layer’ button in the layers palette which can be found on the bottom right-hand side of our screen or we can use the shortcut buttons. Press Ctrl + Shift + N. This will open a pop-up asking us if we would like to create a new layer. Press Okay.