
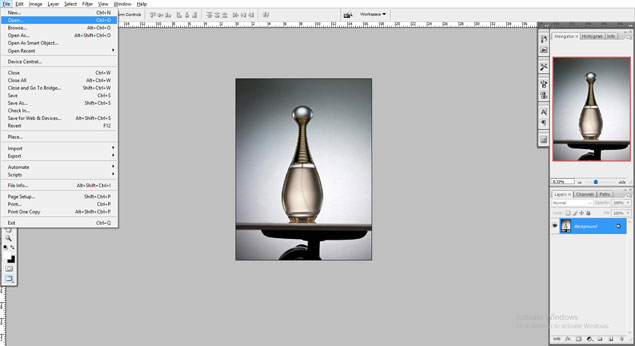
Giving A Glass Reflection To Your Picture Using Photoshop
While travelling, a great idea regarding how to take a picture enters your mind but leaves as quickly- because of course, you can’t carry everything with you. This a simple thing which can be done by adding filters to the camera, but if you don’t have that, no matter. Photoshop is at your service. Here are the steps to follow if you want to create glass reflection using photoshop.
Step 1: Select one of the eyes, since both can’t be done simultaneously. Select the glass, depending on your choice. Let’s use the polygon lasso tool on the left glass, for now. To so that press Shift+L again and again till it comes up.
Step 2: To open a new layer window press F7. Make sure left glass is selected then press ctrl+shift+N/cmd+shift+N to create a new blank layer. You can do this by going to layer window and clicking on add new layer, at the bottom of the window. After this double click on its name and change it to the left. The layer just created will be blank and transparent, so there’ll be no visible changes in your picture.

Step 3: Press D to change foreground and background colour to black and white respectively. Press alt+backspace/option+delete to fill the left layer with black. Now deselect the selection by clicking on the image and select deselect!
Step 4: Now select the image whose reflection you want on the glass and press ctrl+A/cmd+A yo select the whole image. Now copy the selection- ctrl+c- and go back to your original photo and paste it- ctrl+V. If the picture is not aligned, press ctrl+T. Finally press enter. You can change the name of layer1 to reflection.
Step 5: To add clipping mask press ctrl+alt+G. This will clip off the area outside the glass. Press V to adjust the picture accordingly.
Just so you know, this isn’t it. You’ll not be copy-pasting the same steps to the right glass.
Step 6: Open your layer window by pressing F7. Click on the left layer to activate it. Then add layer style> inner shadow. Set the opacity to 75%, angle of 65 degrees, distance to 3px and size to 9 px. This is just, for example, so keep in mind to set the values accordingly.
Hold ctrl and click on the layer thumbnail of the left layer, which will load the selections made in step 1. Now go to filter>distort>spherize to add sphere effect. Change the mode to horizontal only and the amount between 20-40%.
Step 7: Now go back to the layer panel and activate the left reflection layer. Then duplicate it by pressing ctrl+J. Press crtl+alt+G to cut out the undesired part. To darken the image, change the blend mode to multiply. Reduce the opacity of left reflection copy. In case to want to increase the darkness, reduce the opacity of left reflection.
Step 8: To give a shiny effect to the picture, hold down ctrl and click on the layer thumbnail of the left layer. This will reload the selections. Press ctrl+shift+N to make a new layer and rename it to white gradient.
Press G to select gradient, and reverse the foreground and background colours by pressing D and then X. Then go to option bar and change the mode to the foreground to transparent. Apply the gradient accordingly. And press ctrl+D to deselect the selection.
Alright, we are done now, but only after you repeat the same steps for the right glass.


