
How to Create Your Own Lens Flare Brush In Photoshop

With HD cameras and advanced technology, images show every minute detail. Also, with photo-editing software, we can create any effect of our choice and make our images look perfectly real. Here is one such effect!
This article is all about how to create a lens flare brush using Photoshop!
- Create a project

Go to the ‘File’ menu and click on ‘New’. Set the width as 1000 pixels and height as 300 pixels.
- Set foreground and background colour

Just press key D to make black as the foreground colour. Use the shortcut Alt+Backspace or Opt+Delete to set black as the background colour.
- Select the brush
Select the brush from the tool panel. Next, select the ‘assorted brush’ from the options bar.
Right-click on the canvas to locate the brush that has a name ‘texture 4’ and make the size as 50 pixels.
- Create a new layer
Using the shortcut Ctrl+Shift+N, create a new layer named ‘brush’. Next, press and hold the Shift key, and then draw a straight line as shown in the figure below. The blue lines are used for accurate dimensions.
- Setting the dimensions
Go to ‘Filter’ menu. Select ‘Motion’ and then ‘Motion Blur’.
Set the value of angle as 0? and distance as 300 pixels.

- Duplicate the layer
Use Ctrl+J to duplicate the layer. This results in a darker line.
Next, go to ‘Edit’ menu and select ‘Transform’ to activate the free transform. To decrease the height of the line, press and hold Alt/Opt key. Press the ‘Enter’ key once this is done.
- Creating flare
Create a new layer by using Ctrl+Shift+N. Name it as ‘Flare’. From the tool panel, select a rectangular marquee tool. To draw a perfect square, just press and hold Shift.
Next, press key ‘D’ to make the foreground colour as black. Set the background colour as white. Using the shortcut Ctrl+Backspace, fill the square drawn with white colour.
Next, go to ‘Filter’ menu, select ‘Render’ and then ‘Fiber’.
Set the values of variance and strength as 20 and 23 respectively.
- Set the blur
Go to ‘Filter’ menu, select ‘Blur’ and then ‘Motion Blur’. Keep the angle at 90? and distance as 500 pixels.
- Applying the gradient
From the left panel, select the ‘Gradient’ tool. Set the foreground colour to black.
In the options bar, set the type as ‘Linear gradient’ and mode to ‘Foreground to transparent’. Also, change the blend mode to ‘Overlay’.
Next, apply this gradient to the layer.
- Select the distortion of pixels
Open the layer panel. Press and hold Ctrl/Cmd and then click on the flare layer, to select the pixels in this layer. 
Go to ‘Filter’ menu, select ‘Distort’ and then select ‘Rectangular to polar’.

- Change the blend mode
Next, change the blend mode of the flare layer to ‘Screen’.
To select the free transform mode and make the flare effect bigger, press Ctrl+T.
- Setting a radial gradient
Set the foreground colour to white. Select the ‘Gradient’ tool from the left panel and change the type to ‘Radial’. Also, set the mode to ‘foreground to transparent’.
Create a new layer and name it as a gradient. Apply this gradient.
- Change the dimension and layer style
Select the free transform tool and make the changes in the dimensions as shown in the figure.
Next, go to layer panel and select ‘Add layer style’. Click on ‘Outer Glow’. Make the settings as shown.
- Merge and invert the layers
Use the shortcut Ctrl+Shift+Alt+E to merge all the created layers into one single new layer.
Next, press Ctrl+I to invert the layer. To apply the levels, press Ctrl+L.

- Create a new brush
To create a new brush, go to ‘Edit’ menu and select ‘Define brush preset’. Name it and click on ‘OK’.
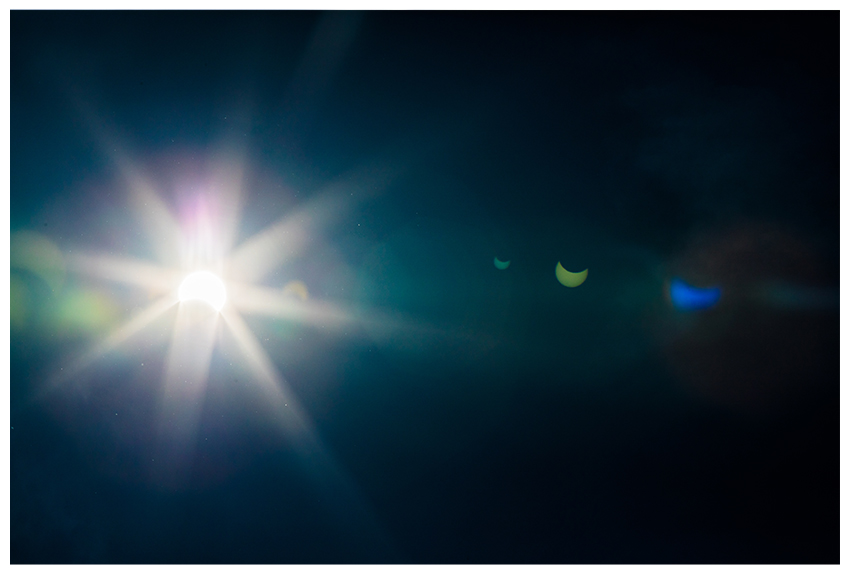
- Applying it to the original image
After creating the brush, open the image on which you want to work.

Create two layers using Ctrl+N. Each layer corresponds to one headlight. Apply the brush on the layers to add the classic lens flare effect.
See how simple it was to create your own lens flare brush using Photoshop! Try it yourself!


