
Editing Your Picture With An Adjustment Layer In Photoshop Cs6
One of the uses of a photo editor application/program is to enhance the quality of the picture. By adding a few here and there touch-ups, the desired effect can be achieved, and a simple picture can be turned into an eye-catcher.
Following are the steps with which you can edit your picture using Photoshop CS6:
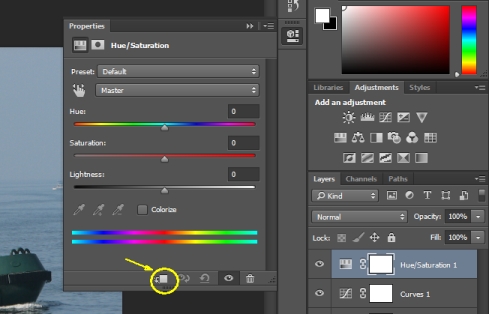
Step 1: Open the picture in Photoshop and press F7 for the layer window.
In order to keep the option of making any changes in the future follow this- Add adjustment layer> hue and saturation.
When the window opens click on colorize. You can set the changes in accordance with how you want the picture. Like if you want ‘warm’ effect in your picture, set hue to 30, saturation to 30, and lightness to 5. If you want ‘cool’ effect set hue to 210, saturation to 50 and lightness to 10.
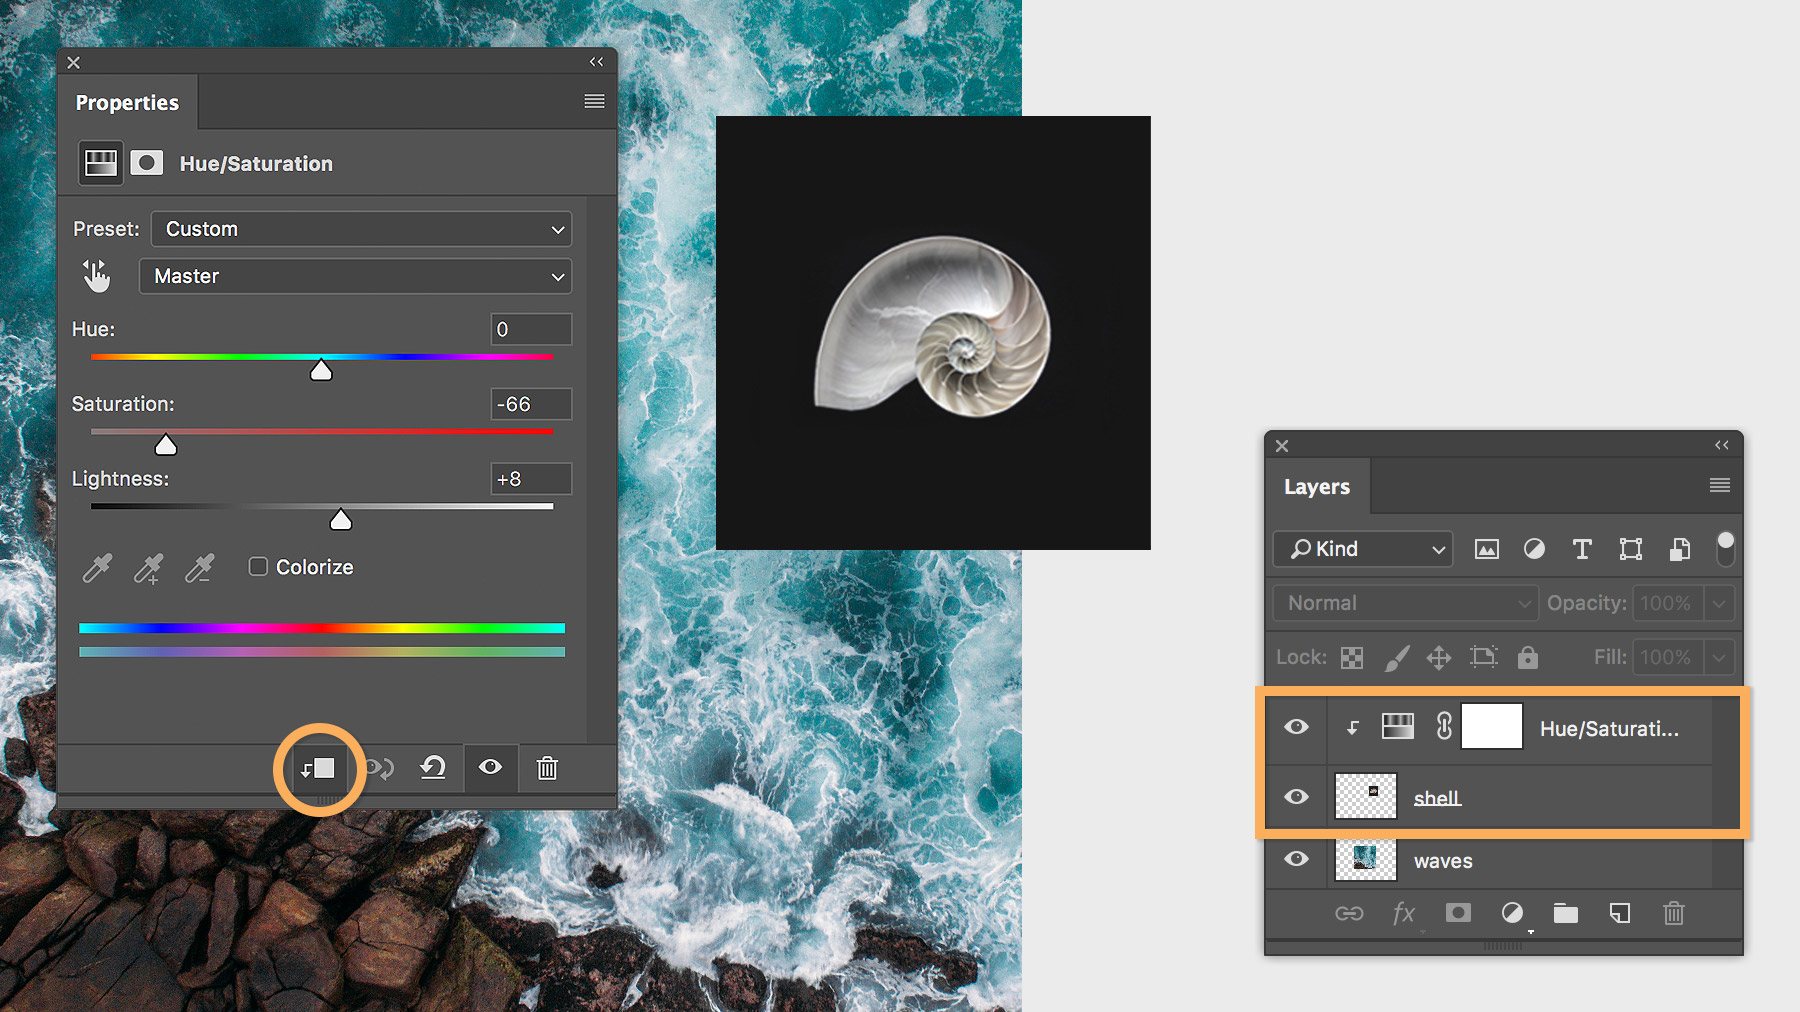
Step 2: In case you want a particular part of the picture to be shinier- for instance, the face of the person in the picture- add color lookup adjustment layer as we did in the previous step.
In case your picture starts to look a little weird, you can reduce opacity accordingly. Also, change the blending mode to ‘vivid light’. Now the picture is back to normal.
Step 3: Press ctrl+l/cmd+l to invert the layer mask of your color lookup layer. You will notice that the picture has lost its luminosity, again! Not to worry. We’ll fix it as we go. Set the foreground color to white.
Select brush tool by pressing B- the arc on the photo represents your brush- and increase the radius so that it covers more than half of the picture. ‘[‘ or ‘]’ can be used to increase or decrease the radius. Set the hardness to 0% which can also be done by pressing Shift+[ which reduces hardness by 25% every time.
Step 4: Now for the final step we’ll add a gradient. Press ctrl+shift+N/cmd+shift+N to add new layer. Press D which will reset your foreground color to black. Now you can either select gradient from the left panel, or you can press shift+G repeatedly until it comes.
After this, change the mode from the foreground to a transparent and select a linear gradient. Now press and hold Shift while you drag and drop the mouse cursor from extreme left to center, and then release it. follow the same thing, this time from the right side.
After this reduce the opacity od the layer to 48%, and it’s done.


