
Simple Tutorial to Create HEFE Instagram Filter with Photoshop
Contents
Simple Tutorial to Create HEFE Instagram Filter with Photoshop
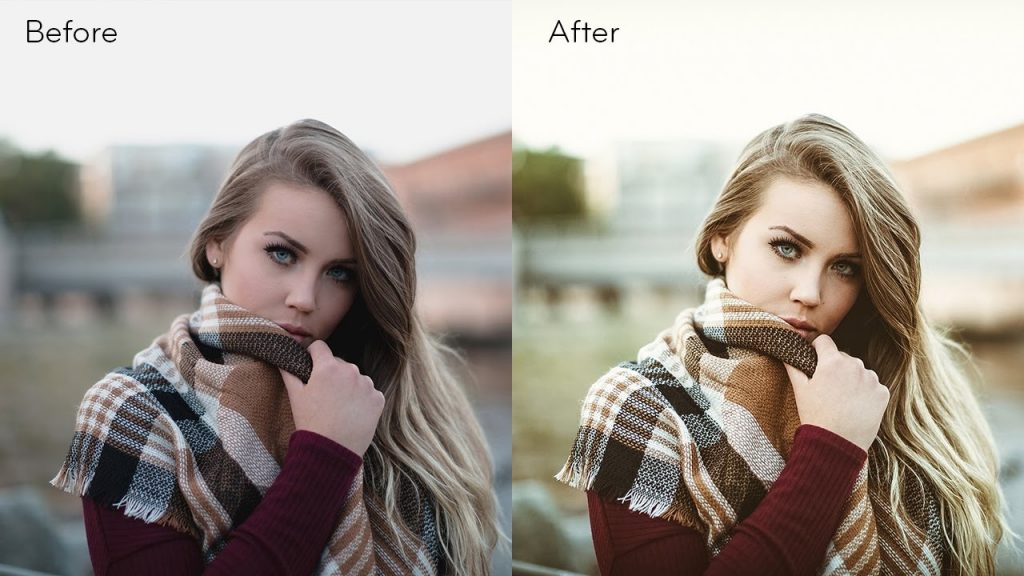
Instagram is a one stop shop with 20 filters to add in a picture. Isn’t it? We are going to learn today, how to create the Hefe Instagram filter with Photoshop. And it will just need just a few minutes of your day.
Let’s start with the super easy steps!
Step1: Adjust the brightness
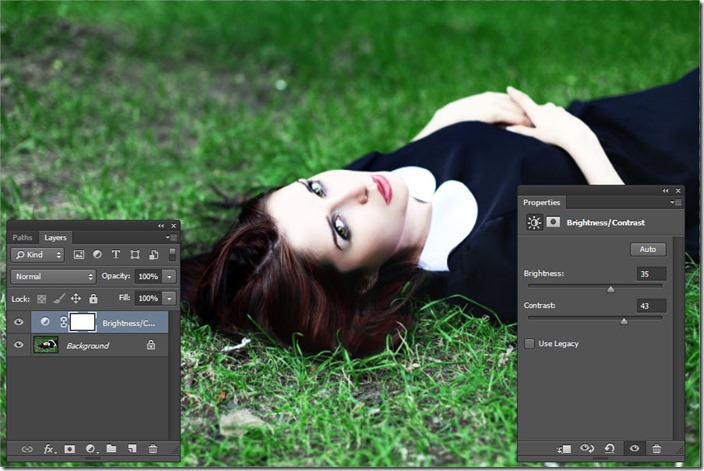
Open the image in the window and go to layer>new adjustment layer>brightness/contrast to increase the brightness and contrast of the image.
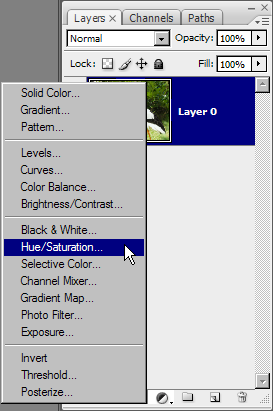
Step2: Adjustment of hue/saturation
After adding brightness to the image, it’s time to adjust its colour. For this, I will make some changes in the level of hue and saturation. For this go to the layer>new adjustment layer>hue and saturation and set the saturation as -19, hue as 5 and leave the lightness untouched.
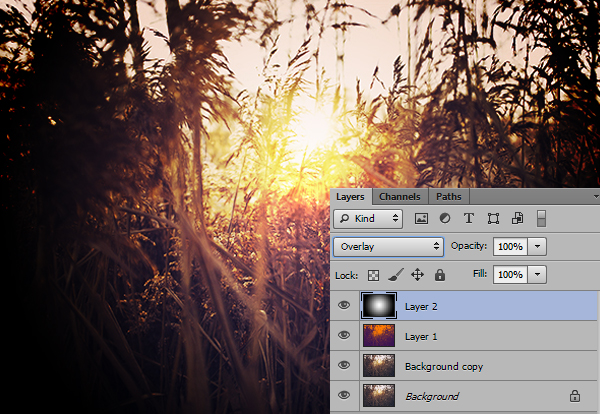
Step3: Make a copy
As we have adjusted the hue/saturation, now I will make its duplicate layer. Later, I will change the blending mode to overlay and reduce the opacity to 30%. After this, we will again adjust the brightness and saturation of the image. For this go to layer>new adjustment layer and set the brightness to -22 and saturation as +37.
Step4: Create a selection
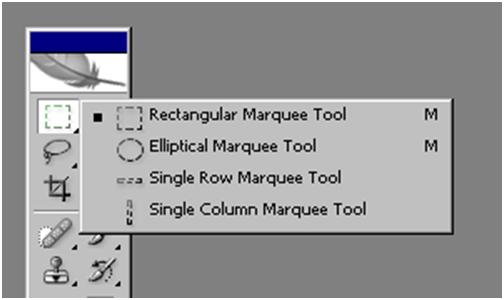
Now we will create a new layer by pressing Ctrl+Shift+N and select the Rectangular Marquee tool from the toolbox on the left. After this create a selection around the image and invert the selection by pressing Ctrl+shift+I.
Step5: Add feather effect
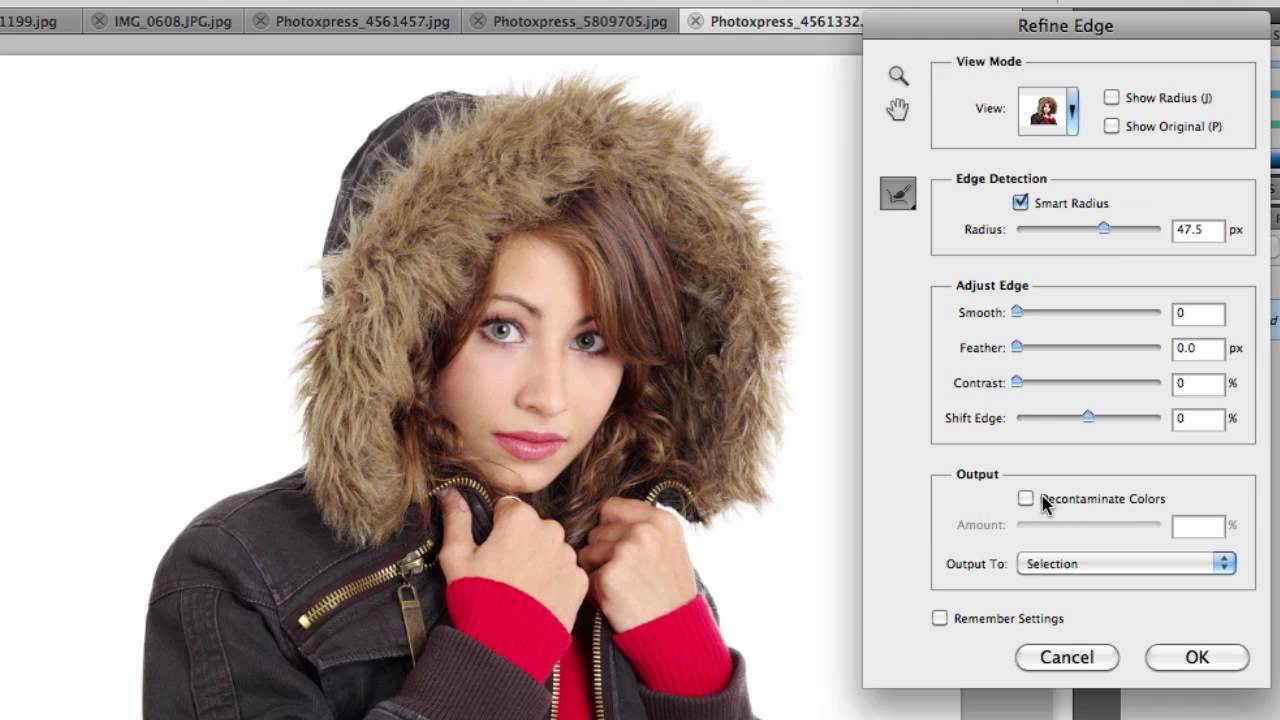
As we have adjusted the brightness, hue and saturation of the image, it’s time to add feather effect to the selected area. For this go to select>refine the edge and increase the slider to 144 pixels. Remember that the adjustment of the feather pixels may vary as the higher the dimensions, the higher is the pixels.
Step6: Last step!

After setting the feather effect, press D to turn the foreground colour black. Now press alt+backspace/Opt+Delete to fill the selection area with the foreground colour which is black. Finish the task by changing the blending mode to Multiply and set the opacity to 43%.
There you go!


