
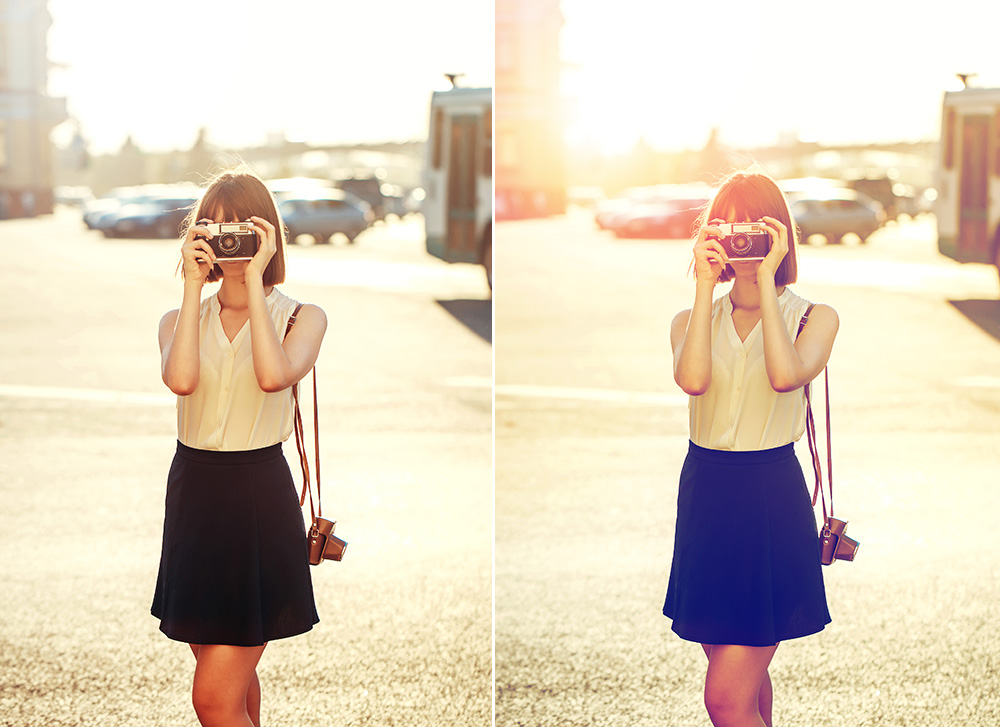
How to create a sunset effect in Photoshop

Photoshop is the most popular software among web designers and image editors. But sometimes it could get complicated to handle all the tools with increasing detail requirements! Here is the simple tutorial for creating a sunset effect in lightroom in photoshop.
Here are the very easy and simple steps to be followed to make use of creating a sunset effect in lightroom a photo in photoshop!
Step 1:
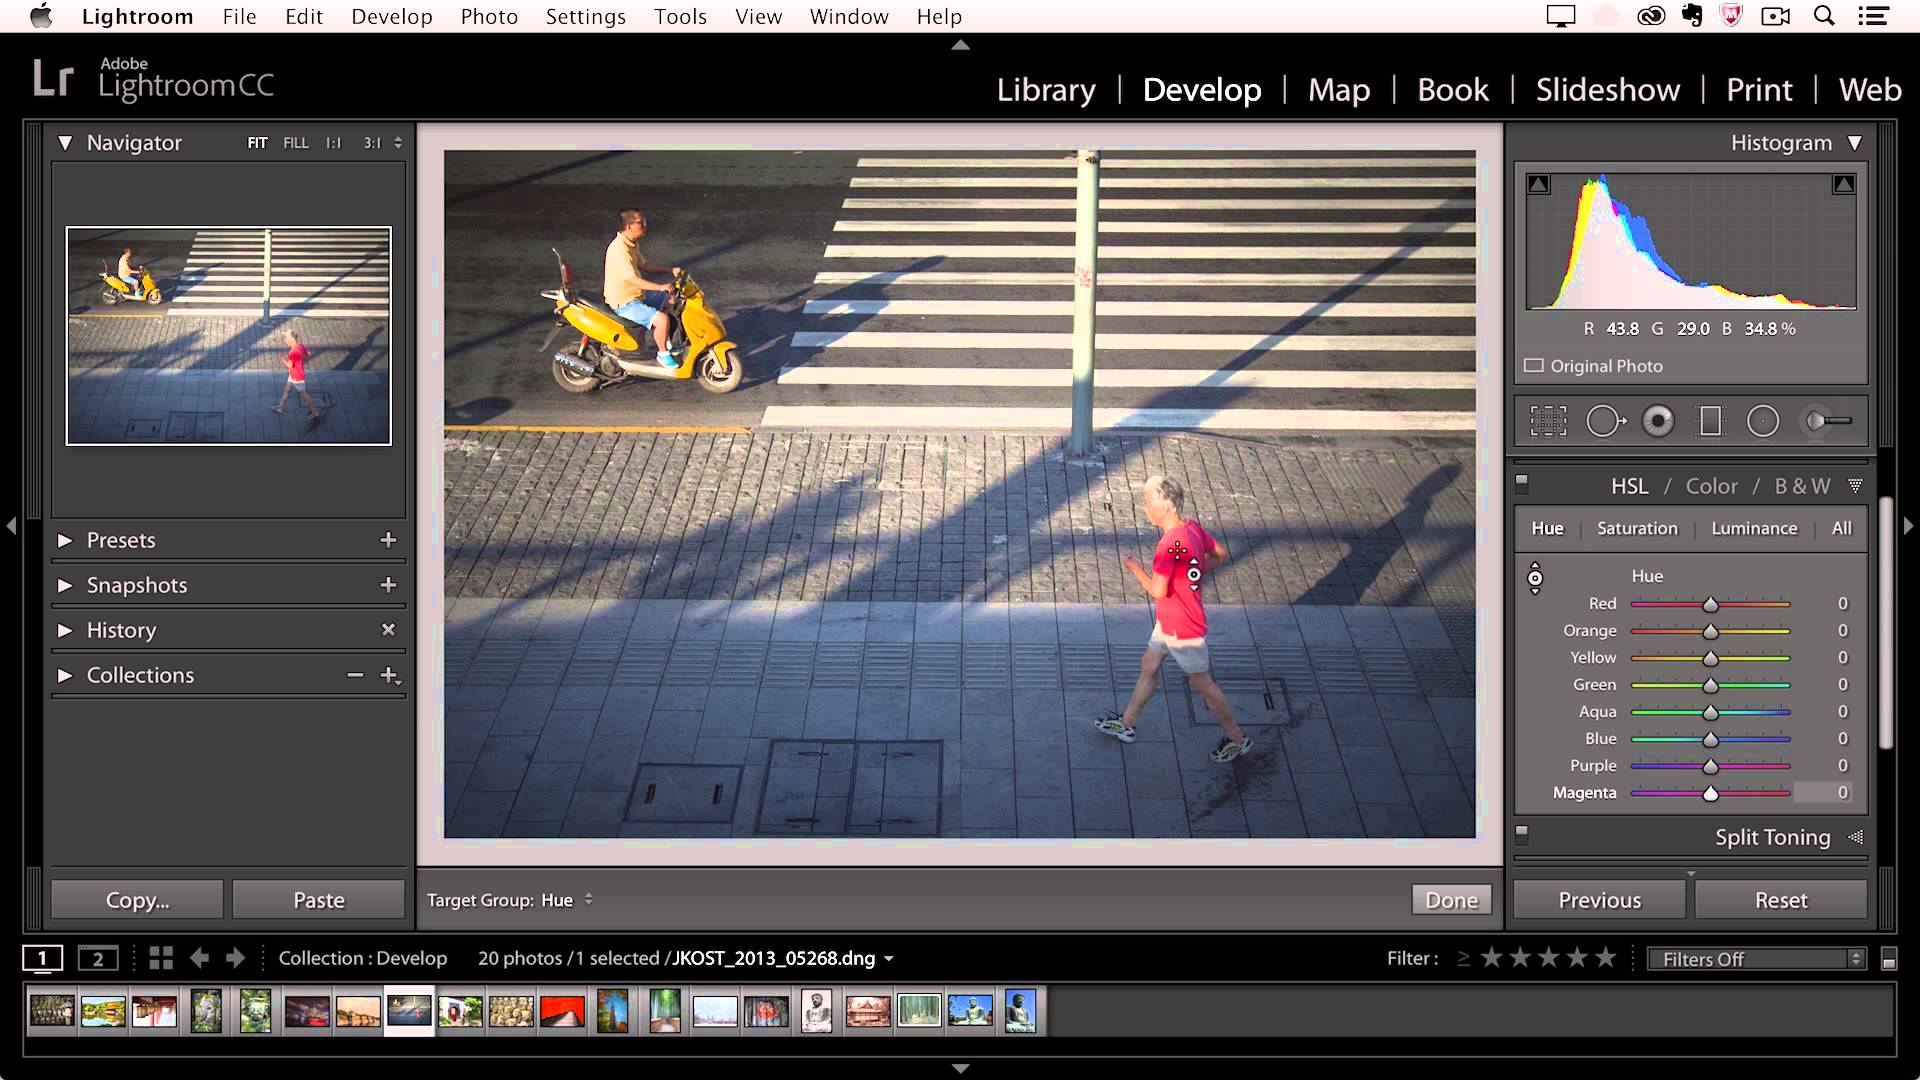
First of all make some following local adjustments to the image
- Temp: +10
- Tint: +12
- Contrast: +57
- Highlight: -26
- Shadow: +40
- Whites: -74
- Blacks: +76
- Clarity: +36
- Vibrance: +17
Step 2:
Now decrease the Fill light to -40 to decrease the light a little bit.
Step 3:
Now use split toning. The settings that I am going to use:
Highlight
- Hue: 285
- Saturation: 37
Balance: +36
Shadow
- Hue: 59
- Saturation: 36
Step 4:
Now make the top of the sky as violet as blue is looking odd. To do this decrease the saturation of Aqua and Blue to zero.
Step 5:
Now our next step is to press M to activate graduated filter to the sky. Now drag it down from top to bottom.Change the tint to 54, exposure to -0.41, a contrast to 36, highlights to -100, clarity to 17 and colour to H=202,S=38.
Step 6:
Now we will be again using graduated filter to fix a bottom area of the image. But this time drag from bottom to top.Drag the shadow and contrast slider to the right.
Step 7:
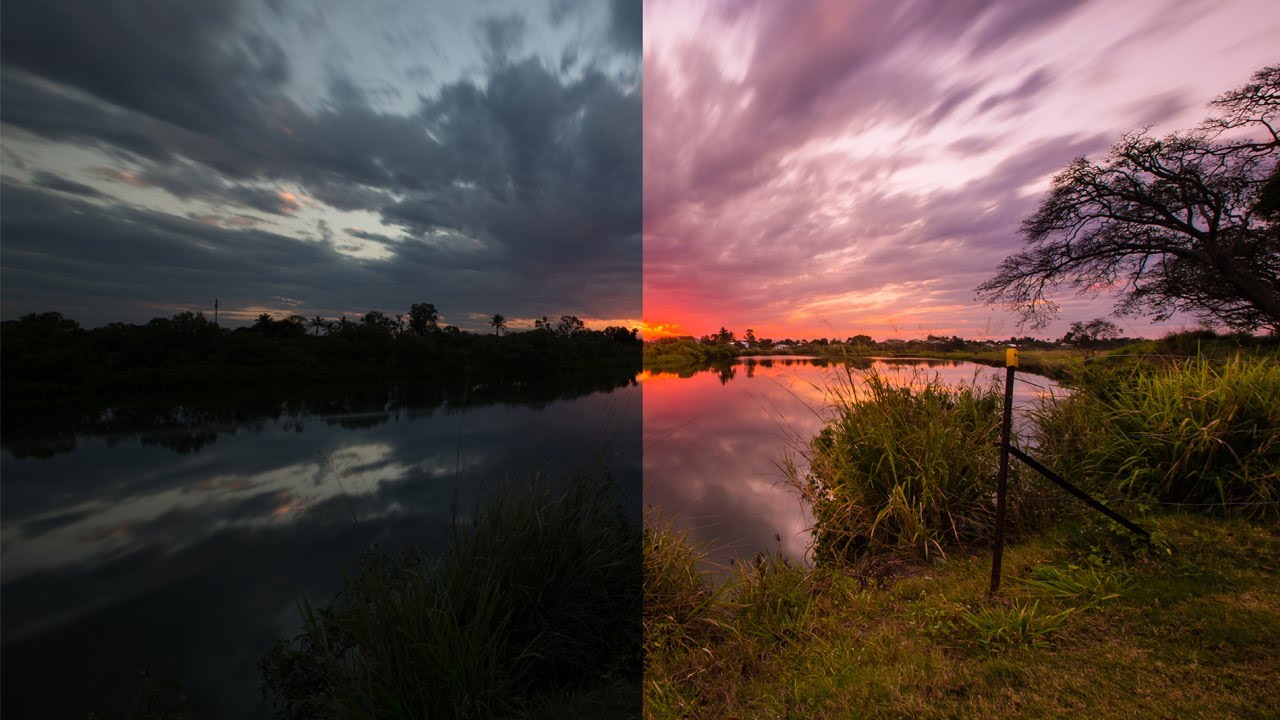
Now our last step is to crop the image by activating crop overlay by pressing R.
And we are done.


