
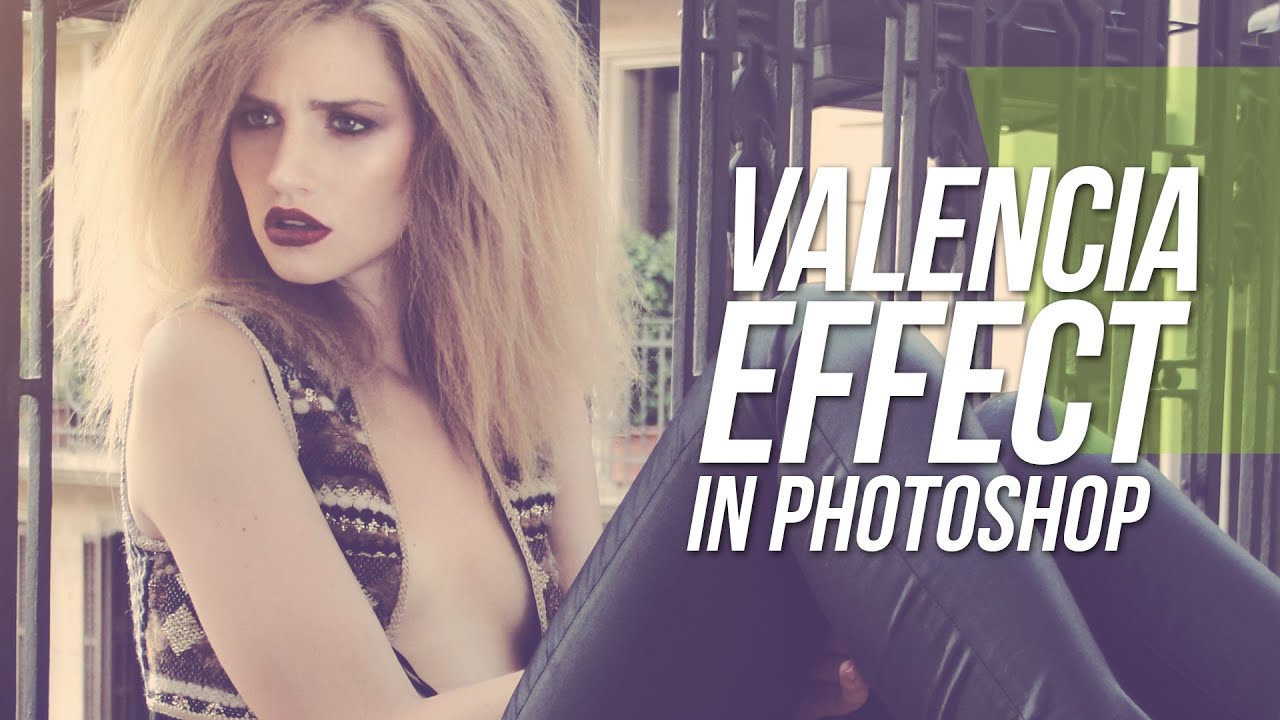
Creating Instagram Valencia Filter Using Photoshop
Do you know how much filters does Instagram have? Over 40 filters! So, this implies it very well that it can be a little bit hard to understand which filter can work best with what type of picture. One of them is the Instagram Valencia Filter. So we think, we can do something about it. Let’s start!
Here you’ll discover all that you have to think about what each Instagram filter does, and what it’s best used for. We’ve likewise got a few illustrations for you to take a look at it.
But before getting to the filters, I’d like you to note these two things: First, the utilization of Instagram filters—like pretty much anything in the specialty of photography—is abstract.
Second, there are no strict and fast rules. Sometimes, an Instagram filter works with a picture even when you wouldn’t anticipate it, so do not just confine yourself to these recommendations.
Contents
Here, we are up for creating Instagram valencia filter using Photoshop. So, let’s jump upon it now.
Photoshop is a wonder and aids in transforming and giving life to images! Instagram’s various effects could be achieved via Photoshop as well. Let’s learn how to achieve Instagram Valencia filter. In use is Photoshop CS6. However, older versions also could be used. Below are the steps of creating an Instagram Valencia Filter here are some relevant filters used .
Steps to add the Instagram Valencia Filter:
Step 1:
Firstly, unlock the background layer. Press F7 and open the layer panel. Right-click on the background layer followed by “layer from background” which shall unlock the “background” layer.
From the Adjustment Layer, pick Hue and Saturation and add the same. Select layer – New Adjustment Layer – Hue and Saturation. Lightness to be increased, by 12.
Step 2:
Add contrast to the image. To do so, Soft Light Blend is recommended, but not mandatory. To implement the same, press on Ctrl+shift+alt+E or Cmd+shift+Opt+E for sampling all the layers into a new one! Rename it as “sample visible”. Press Ctrl+J or Cmd+J to duplicate the “sample visible” layer.
Change the mode to Soft Light mode from Blend mode of “Stamp Visible Copy”. This adds a beautiful contrast to the image.
Step 3:
Add a few adjustment layers. Start with the Levels. Select Layer-New Adjustment Layer – Levels. Level up the mid-tones slider, i.e., the grey one to 1.14.
Time for some color balance! Select Layer-New Adjustment Layer – Colour Balance. Decrease blue by 20 and green by 17. Increase red by 17.
Now turn down the saturation. Select Layer-New Adjustment Layer-Hue and Saturation and decrease it by 20.
Step 4:
Add some noise to the image. Firstly press Ctrl+shift+N or Cmd+shift+N to create a new layer and name the layer as “noise”. Black shall be the color of the foreground. Black color shall be used to fill the “noise” layer and press Alt+Backspace/Opt+delete to do the same. Change the mode to Screen, from Blend mode of “noise” layer. Black vanished because of a change in mode to Screen. We are one more step ahead towards achieving the Instagram Valencia filter.
Select Filter – Noise – Add Noise. The amount has to be changed to 20% and “ok” to be pressed.
Do the homework right to get the trick right!
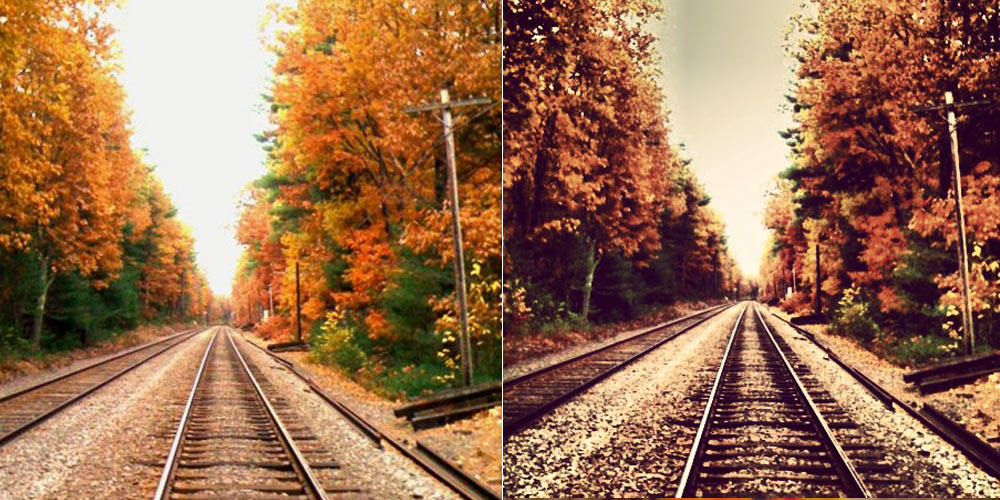
Once everything is complied with, we get Instagram Valencia filter. Instagram Valencia filter is one of the most used on Instagram! Getting it right is a deal click to see some more amazing filters.


