
How to Add Catchlights in Photoshop Elements?
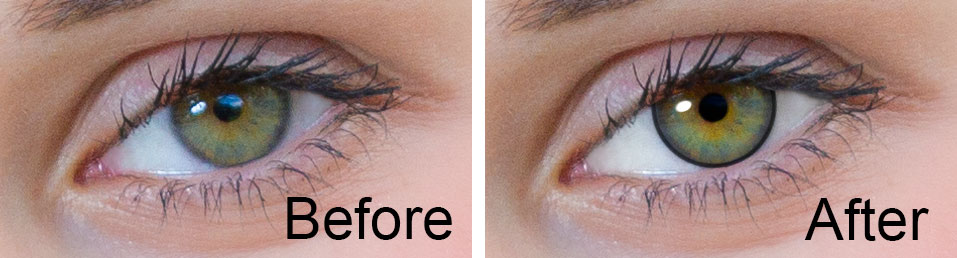
This time, let’s bring out the best of the creativity hidden in you! Photoshop would help you hone your skills. This tutorial is all about adding catchlights to eyes. To add it, the pre-requisites are Dodge and Brush Tool for final touch-up. We shall create a new layer and also use a custom brush for creating the catch light.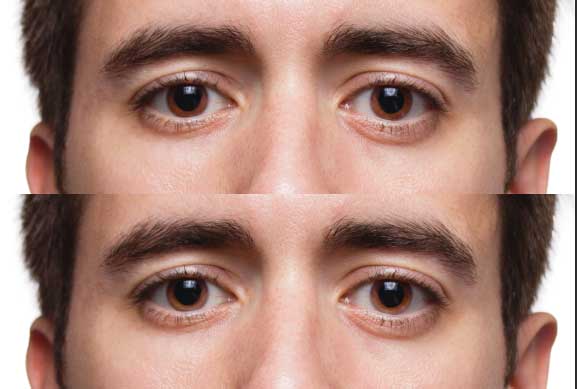
Contents
Step 1 for adding catchlights to eyes:
The first and obvious step is to open the image via Photoshop.
From the tool panel, take the Brush Tool or simply press Shift+B repeatedly until it appears! Right-click on the image and Splatter 27Pixels Brush to be chosen.
Step 2 for adding catchlights to eyes:
For enlarged eyes, zoom in a lot. Press Ctrl+shift+N or Cmd+shift+N to create a new layer and rename it as “left”.
Step 3 for adding catchlights to eyes:
Do apply the brush all over the top and drag the mouse to the right!
Step 4 for adding catchlights to eyes:
The “Left” Layer has to be duplicated by pressing Ctrl+J or Cmd+j and rename it as “right”.
Catch hold of Move Tool. The duplicated catch light has to be moved towards the right eye.
Step 5 for adding catchlights to eyes:
In a non-destructive manner, we shall use the Dodge Tool. Press Ctrl+shift+N or Cmd+shift+N create a new layer and rename it as “Dodge”. To open Fill dialogue box, press on shift+F5 and press “ok”.
Step 6 for adding catchlights to eyes:
Change the mode to Overlay from Blend mode of “Dodge”.
From the tool panel, grab the Dodge Tool or press Shift+O repeatedly until it appears! The area is highlighted with red, apply the dodge tool all over that particular area.
It is noticeable that the area where the dodge tool was applied has become lighter.
Step 7 for adding catchlights to eyes:
Apply the Step 6 for the left eye as well, and the result must be clearly visible to you.
Finally, to conclude, we have added the catch light successfully. Once the catch light has been done right, the image shall look similar to the one below.


