
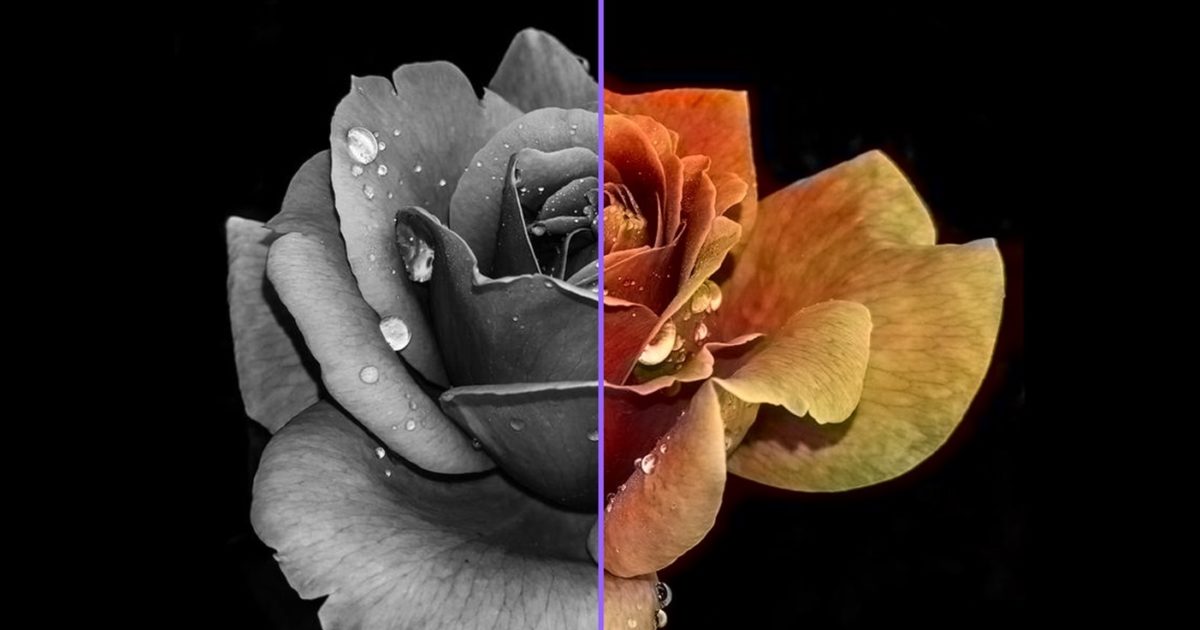
Adding Colour to Black and White Images Using Photoshop
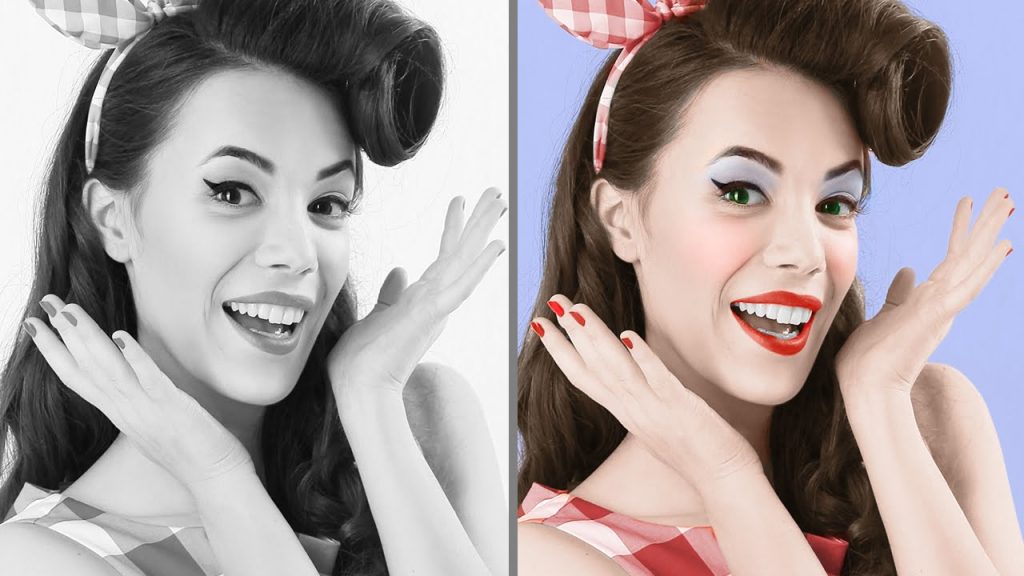
It is often found easier to convert a coloured picture into black and white than working the other way round. There is a Colour Blend method, but it is time-consuming. But here a few simple steps which can help serve our purpose, efficiently.
Step 1: The first thing to start with is changing the colour mode to CMYK (Cyan Magenta Yellow Key). This gives a bit stronger effect on the picture. This can be done by going to image>mode>CMYK colour. Leave the picture to 8 bits per channel.
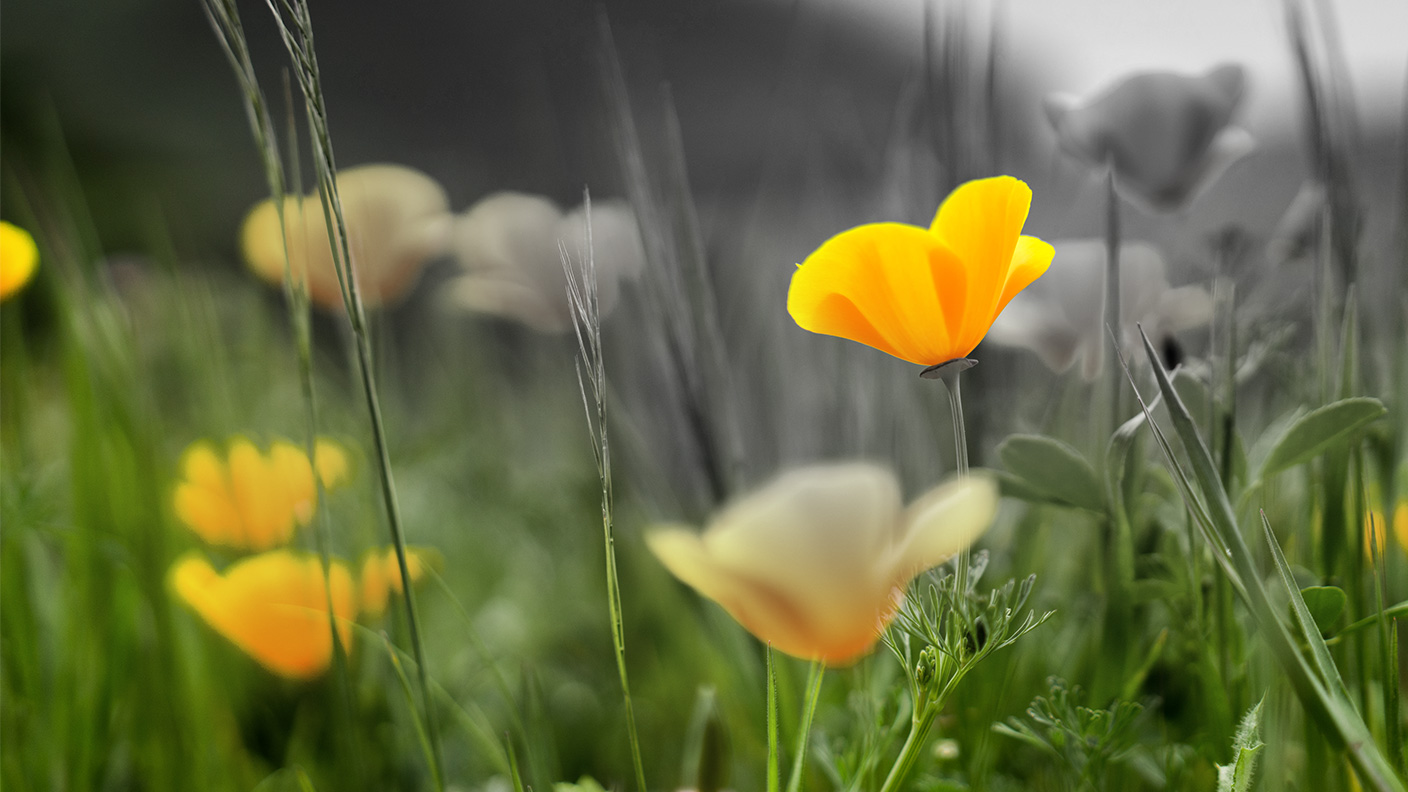
Step 2: Now select the area which you want to be coloured. It is totally up to you. Let’s say you start with the sky. For this select the sky with the quick selection tool, which you can do by pressing shift+W repeatedly until it comes up. Or you can also do it, by simply choosing it from the left panel. You might have trouble selecting the barely visible sky, behind the tree or some other things. For this, you can use the refine edge tool. You will find this in the Options bar. After you have selected it, press B which will give you a view of your selection in black background.
In the refine edge box, select a Smart radius and increase the pixel size as per your requirement.
Step 3: Now open the layer palette by pressing F7. Click on the add adjustment layer and select Curves. You’ll see CMYK in the drop-down menu. You can choose the colour depending on where you want to fill it. If it’s the sky, choose cyan and increase its shade by lifting up the line. You can adjust the rest of the colours, accordingly.
Step 4: Let’s say your next selection is trees. You can select them by using the quick selection tool, or you can also use the magic wand tool. After the selection is made, use refines edge tool and add a curve adjustment layer and adjust the CMYK so that the trees look green, or whatever colour you deem fit.
Step 5: Similarly, you can select other areas and fill them with colour. A few here and their things might need consideration here. For instance, when you are choosing a wall to be filled. Since you might not get the desired effect with the curve tool, you can opt Hue and Saturation tool. For this, press F7>add adjustment layer>hue and saturation> colourise. Now you can adjust the bar, as per requirement.
Step 6: Now for the final touch, after you are done filling all the colours. Change the mode from CMYK to RGB by going to image>mode>RGB. Then go to image>adjustment>levels.
And all is done.


