
Learn About Various Blending Modes In Adobe Photoshop

Learn-About-Various-Blending-Modes-In-Adobe-Photoshop
Photoshop, the name itself says it all. If you are creating a blend of images, this tool is going to do wonders for you! The best part about blending modes in Photoshop is that it causes no permanent damage to your layers. These blends can be changed or even removed altogether without causing any damage. Blending modes in Photoshop can provide a wide range of extremely interesting and sometimes, even whacky image blends! Let us see what exactly these blends offer us and what their potential use could be in creating new images.
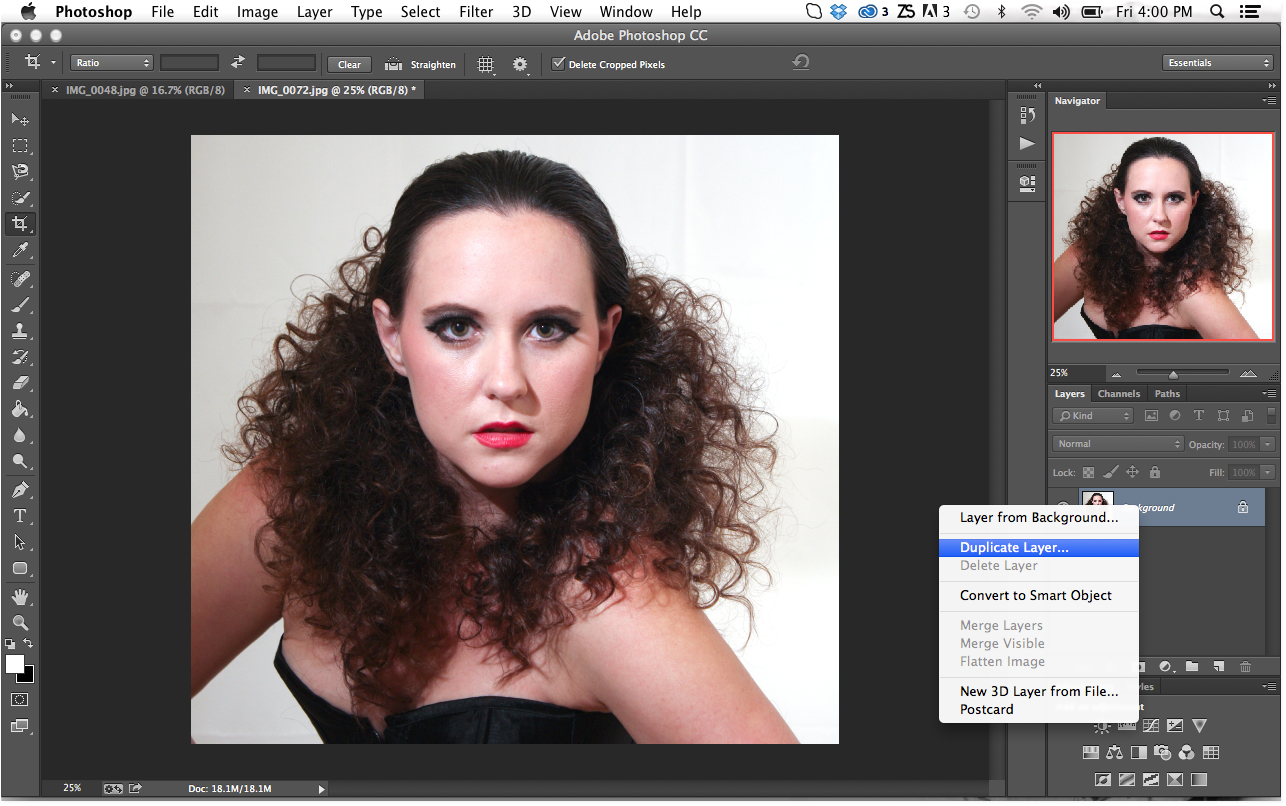
Most options offered in the ‘Blend mode pop – up’ menu that are located in the layers panel under the layer tab are same as that of in Mode pop – up menu on the options bar. ‘Behind’ and ‘Clear’ modes are the only exceptions here. They are only found in the options bar as they are available for use with painting and editing tools only which may or may not be needed for blending modes in Photoshop.
-
Contents
Normal
This mode is the default mode in which each pixel appears in its original, untampered state.
-
Dissolve:

For the dissolve effect to be evident, the uppermost layer has to have an opacity of less than 100%. Lower opacities provide intense effects. This effect allows a few randomised pixels to show through the layers of lower opacities.
-
Behind:

Painting and editing tools should be active for the use of this effect. The ‘type’ should be rasterised and deselect the ‘Lock Transparency’ option. This effect makes provision for painting and editing only the transparent portions of a layer. This makes it look like strokes in the background!
-
Clear:
Painting and editing tools should be active for the use of this effect. The ‘type’ should be rasterised and deselect the ‘Lock Transparency’ option. This image gives an effect of holes punched in the image. This effect allows for painting and editing with transparency.
-
Darken:
In this effect, the lighter layers’ pixels turn transparent, and the darker ones remain unchanged. This effect is super useful for using superimposed scanned texts or line art as the white colour of the paper (having lighter pixels) will be dropped off. Only the dark alphabets and lines will appear.
-
Multiply:

It embeds layer onto layers. This effect mixes the colour giving them a darkening effect. It is almost like redrawing a line on the original line. It makes the line bold.
-
Colour burn:
This effect darkens the layers underneath, burning them with colours. The contrast increases. If you try blending in white pixels, it will have no effect.
-
Linear burn:
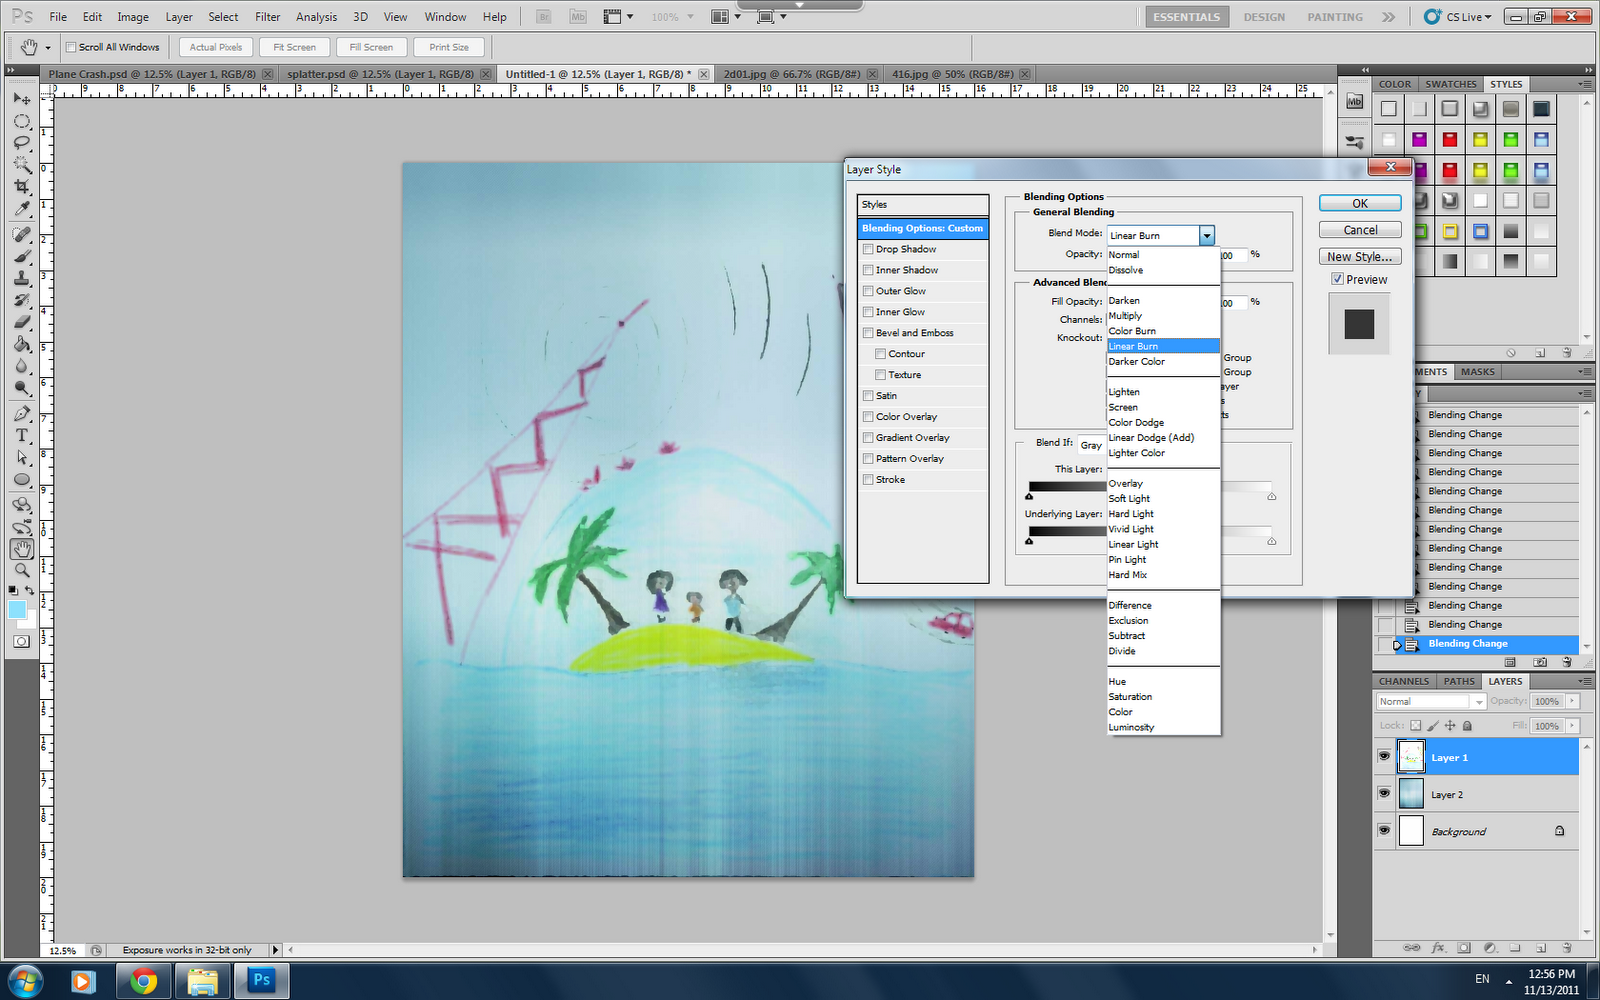
This effect darkens the layers underneath, decreasing the brightness. Though similar to the ‘multiply’ effect, it may blacken some portions of your image. If you try blending in white pixels, it will have no effect.
-
Darker colour:

In this, the darker amongst the two blending layers will be visible.
-
Lighten:

If there are darker pixels on the layer than those below it, it will turn transparent. It works opposite to that of ‘darken.’
-
Screen:

This is the opposite of ‘Multiply’. It will turn light wherever two layers are blending. Blending with black pixels will have no effect.
-
Colour Dodge:
This will lighten the colours on the layers lying underneath the top one. It will infuse the colours of the layers on top with that below it. Blending with black pixels will have no effect.
-
Linear Dodge:

This works the same as that of ‘Screen’; only it will increase the brightness. It may make the image pure bright, though.
-
Lighter Colour:

The lighter of the two layers to be blended will be visible.
-
Overlay:
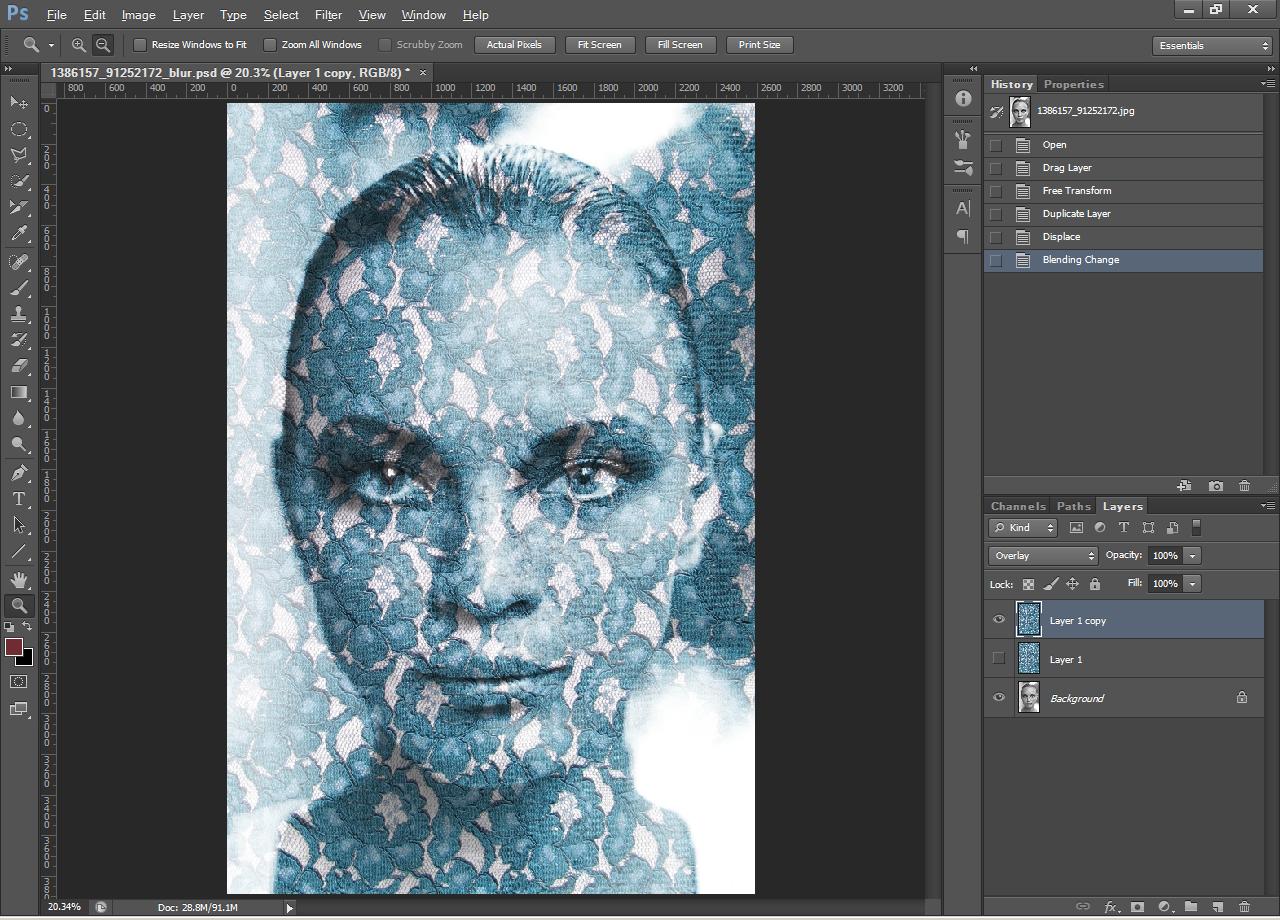
The darker pixels in the top layer are multiplied, and the light pixels in the layers underneath will be screened. This enhances the contrast and the saturation of the colours.
-
Soft light:

The darker pixels are darkened, and the lighter pixels are lightened. If the pixels are lighter than 50% grey, they will be lightened, and if the pixels are darker than 50% grey, they will be darkened further. This, however, does not change the image to pure white or pure black. It is a very subtle effect.
-
Hard light:

The darker pixels are multiplied, and the lighter pixels are screened. If the pixels are lighter than 50% grey, they will be screened, and if the pixels are darker than 50% grey, they will be multiplied further. Blending with black and white will result in black and white.
-
Vivid light:

This effect is a combination of colour burn and colour dodge. The darker than 50% grey pixels on the top layer are burned/darkened by an increase in the contrast. The lighter than 50% grey pixels are dodged/lightened by a decrease in the contrast.
-
Linear light:

This effect is a combination of linear burn and linear dodge. The darker than 50% grey pixels on the top layer are burned/darkened by a decrease in the brightness. The lighter than 50% grey pixels are dodged/lightened by an increase in the brightness.
-
Pin light:

This replaces the colours of the pixels. It is all respective to the colours in the top layer. If the top layer’s pixels are darker than 50% grey, the pixels darker than the ones in the top layer will be replaced. Lighter pixels are unaffected. If the top layer’s pixels are lighter than 50% grey, the pixels lighter than the ones in the top layer will be replaced. Darker pixels remain unaffected. This mode is a combination of ‘Darken’ and ‘Lighten’.
-
Hard mix:
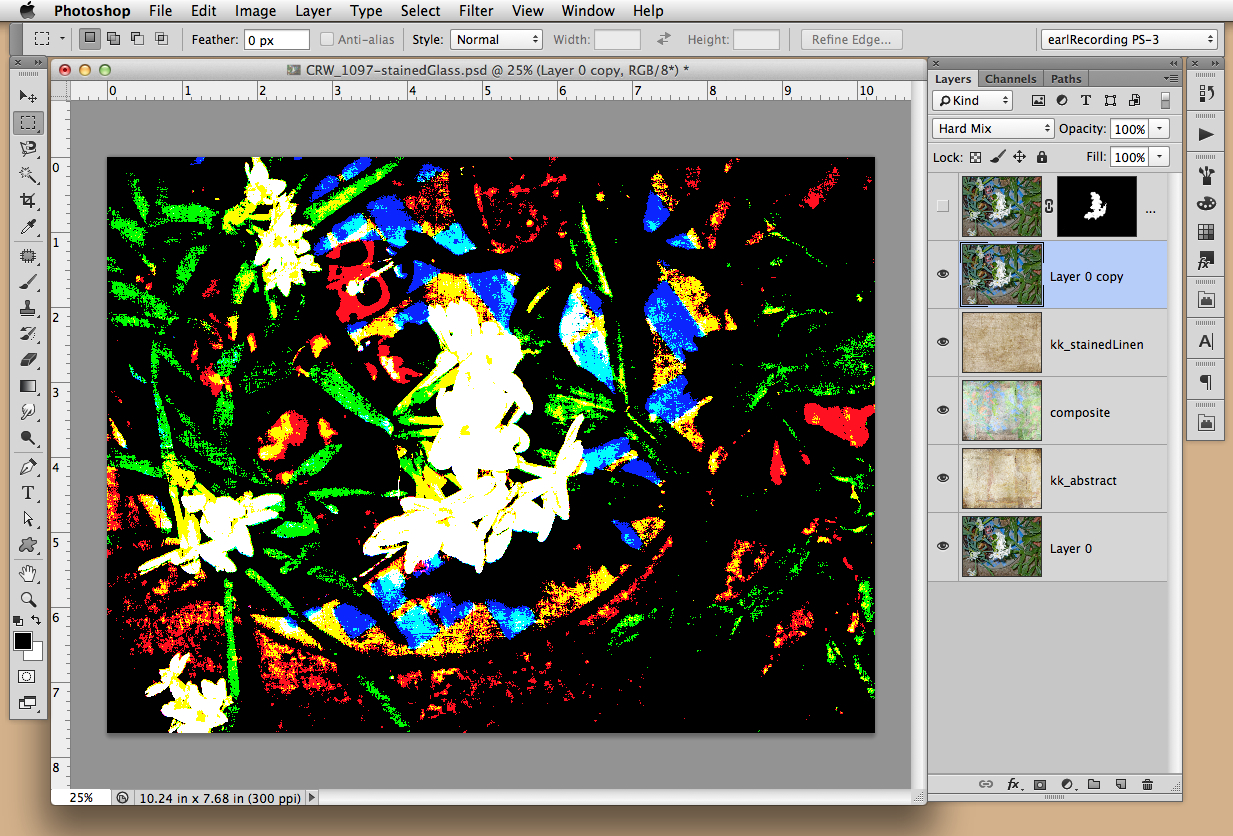
This mode is very similar to that of the ‘Vivid light’ mode. The only difference here is that the colours are reduced to eight colours only viz. – cyan, magenta, yellow, black, red, green, blue and white. The results depend on the existing colours’ mixtures of the top and bottom layers.
-
Difference:

This produces a counter effect according to the brightness of the top layers. If the top layer’s pixels are white, the colours of the layers underneath are inverted. If the top layer’s pixels are black, the colours aren’t changed.
-
Exclusion:

It functions similar to ‘Difference’ with less contrast and saturation. If the top layer’s pixels are white, the colours of the layers underneath are inverted. If the top layer’s pixels are black, the colours aren’t changed. Creation of grey occurs when medium colours are blended.
-
Hue:

This mode is used for blending luminance/brightness and saturation/intensity of colours of the layers underneath with the hue/colour of the top layer.
-
Saturation:

This mode blends the luminance and the hue of the layers underneath with the saturation of the top layer.
-
Colour:
This mode blends the luminance of the layers underneath with the saturation and hue of the top layer.
-
Luminosity:
This mode blends the hue and the saturation of the layers underneath with the luminance of the top layer.
Designing isn’t an easy job. Knowing all the blending modes in Photoshop isn’t easy, either. Or wait, isn’t it easy now? Once you know all the blending modes in Photoshop and understand their functions, there is nothing that can stop you from providing great effects! Hoping this piece on blending modes in Photoshop was useful!


