
Sharpen Portrait in Photoshop
Sharpen Portrait in Photoshop
Photoshop is the most popular software among web designers and image editors. But sometimes it could get complicated to handle all the tools with increasing detail requirements! Here is the simple tutorial for sharpening channel in photoshop.
Here are the very easy and simple steps to be followed to make use of the ‘sharpening channel in photoshop!
Contents
Step 1:
First of all open image in photoshop. Then press F7 to open layer panel or go to the window and then layer. Now our aim is to duplicate background layer for non-destructive retouching. For doing this go to layer and then duplicate layer or press Ctrl+J/Cmd+J.
Go to
Step 2:
The next step is to go to image then mode and then RGB to ensure that we are working on RGB mode. Now we need to open our channel panel by going to windows , then channels and then click on red channels.
Step 3:
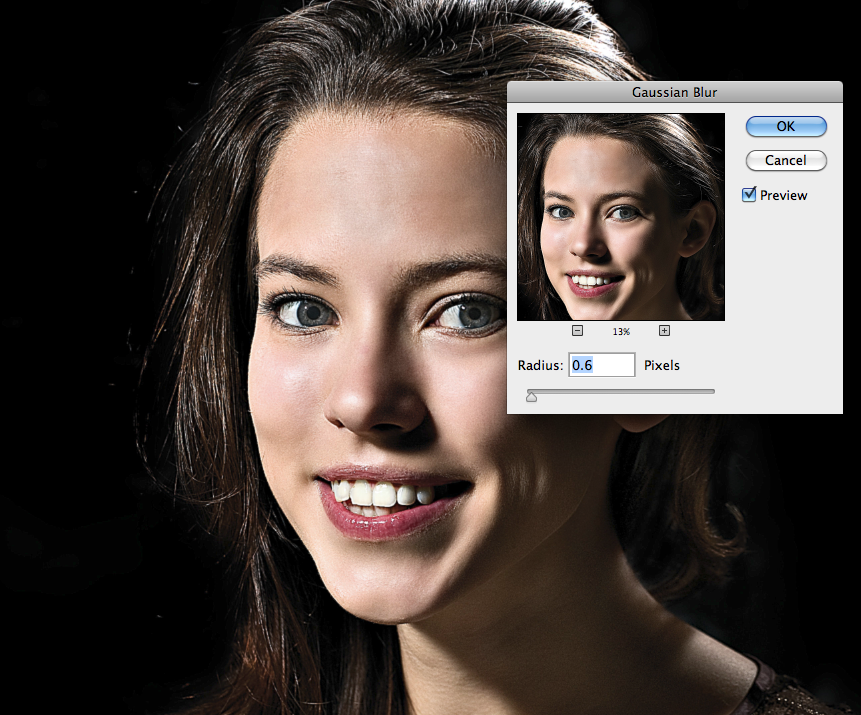
Now the next step is to go to filter, then sharpen and then Unsharp Mask. Also, change the amount to 121% and radius to 1.5 pixels and threshold to 0 and finally press Ok.
Step 4:
Now to get back, all the colours click on RGB.
And we are finally done!!!


