
Instagram Inkwell Filter in Photoshop
Instagram Inkwell Filter in Photoshop
Let’s learn how to create the Inkwell Instagram filter with this easy step by step tutorial and become a master in it.
Contents
Step1:
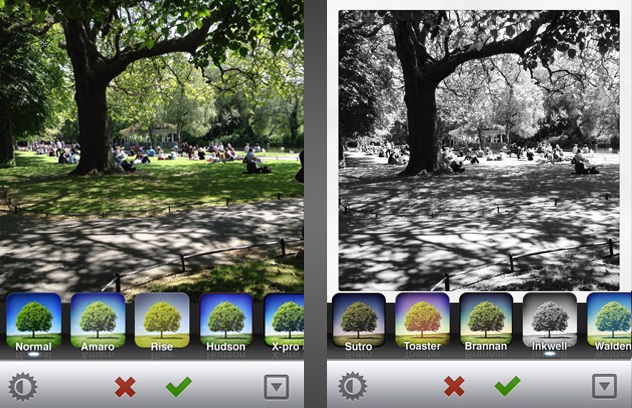
The first step to creating the Inkwell filter of Instagram will start with a desaturation of the image. To make a safe move, I will make a copy of the background layer and then apply the desaturation command.
For this select the background layer and press Ctrl+J/ Command+J to create its duplicate layer. Now after this, select the duplicate layer and press Ctrl+shift+U/ Command+shift+U to desaturate the image.
Step2:
Now we will adjust the exposure of the image. For this go to layer> New Adjustment layer>Exposure. I am increasing the exposure up to 0.4. The level of exposure may vary for you. You must keep this in mind that your image should look a bit overexposed not too overexposed.
Step3:
To add drama to the image, we have to increase the contrast. For this go to layer>New adjustment layer>Brightness/contrast and increase the contrast to +14.
Step4:
After making an adjustment of exposure and contrast, I will add noise to the image. First, create a new layer by pressing Ctrl+Shift+N / Command+shift+N and name it “Noise”. Now change the foreground colour to black by pressing D and fill the noise layer with black colour by pressing Alt+backspace/Opt+Delete. This will make your noise layer turn to black. With this change the blending mode to screen.
Step5:
Select the noise layer and go to filter>noise>add noise and increase the intensity 15-30% Now change the distribution to Gaussian and press Ok after selecting Monochromatic.
Step6:
To finish the task I will first merge all the layers into one layer and mane it “Stack”. For merging the layers press Ctrl+Alt+Shift+E/ Cmd+opt+shift+E
To add a white vignette effect, go to filter>Lens correction and select the custom tab at the top. Later increase the vignette to +28 and decrease the Midtone to +8.
Press ok to finish the task, and here we get the Inkwell filter with Photoshop.


