
Change Lips Color in Photoshop
Photoshop is the most popular software among web designers and image editors. But sometimes it could get complicated to handle all the tools with increasing detail requirements! Here is the simple tutorial for changing lip shade colour in Photoshop.
Here are the very easy and simple steps to be followed to make use of the ‘changing lip shade colour’ in Photoshop!
Contents
Step 1:
The first most step is to open the image in Photoshop and then create a new layer by going to layer, then new and then layer or by pressing Ctrl
+shift+N/Cmd+Shift+N. Now rename the new layer to shade.
Now change the blend mode of “Shade” to colour.
Step 2:
Now change the shade of the lips to orange because the Image taken has an orange dress.
Now grab the brush tool from tool panel or press Shift+B again and again until it comes.
Step 3:
Now start brushing on her lips and sue the brush very accurately for best results.
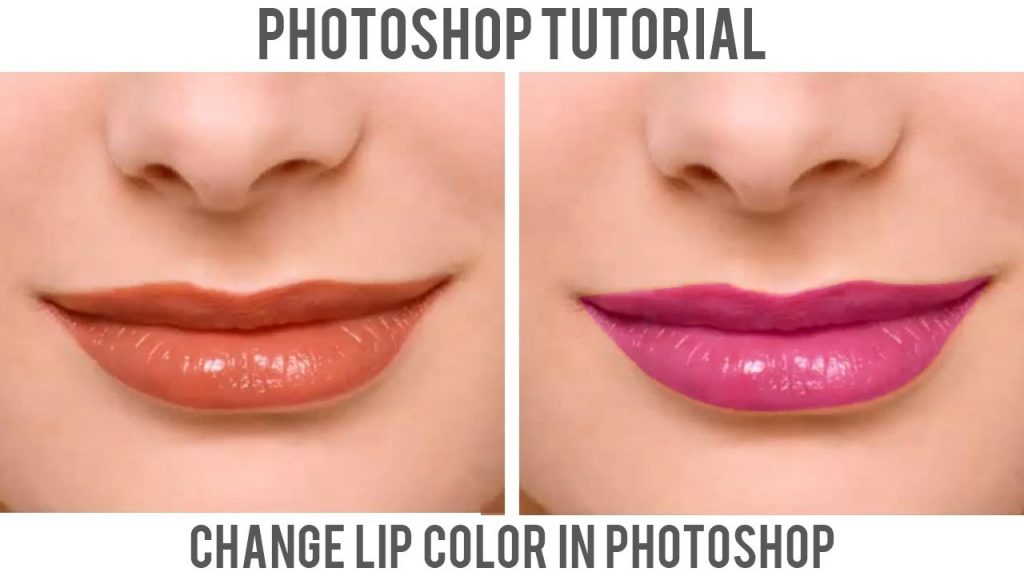
The image should look like this:
Step 4:
If the shade is too vibrant then decrease the saturation by going to layer,then new adjustment layer and then hue and saturation. First of all turn on the clipping mask to apply the changes to the layer below it. To turn it on click on the clip icon and then decrease the saturation to -28.

The image should look like this:
And we are done !!!!!!!! The procedure for changing the lip shade in Photoshop is too easy!


