
How To Use Crop Tool In Photoshop
Photoshop has been a much-awaited blessing in the art of photography. The simpler and effective techniques of editing photos to creating some alluring effects have been more than welcome at every point of time. As such, Photoshop has gained popularity for its ability to fix photos according to our need. In this article, we will learn how to use the crop tool in Photoshop. The crop tool is necessary when we are to focus on a definite portion of the photograph. It helps define the object of attraction in the image.
- The first step is to upload the photo in Photoshop. After this, to select the Crop tool, press Ctrl + C or go to the left tool panel and select the crop tool from there itself.

- To crop a Photo, drag the handles at the edges and corners of the image according to your need. Then press Enter. In case, the cropping turns out to be erroneous; you can undo by pressing Ctrl + Z.
There are two types of cropping: Constrained Cropping and Unconstrained Cropping. In the case of constrained cropping, there is a certain definite aspect ratio according to which cropping will be done such as 1:1, etc. In other words, the ratio of image height and image width is constant. This is mainly used in case of printing purposes.
In the case of unconstrained cropping, there is flexibility in the height and width of the image while using the crop tool. The image may be cropped with any dimension as desired.
- Some of the useful Crop tool actions are:
- Straighten – This is used to straighten the photo. This tool may also be used when we want to tilt the image. Drag the mouse as per your need and Photoshop will do the rest.
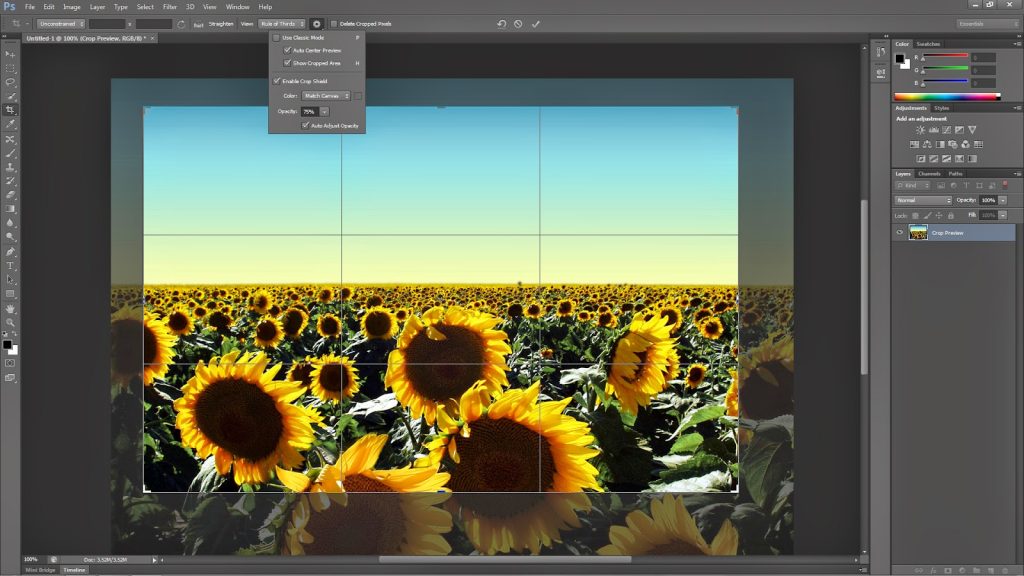
- View – This helps in cropping the image. Generally, the ‘rules of thirds’ is used which displays 2 horizontal lines with 2 vertical lines while cropping.
- Use Classic mode: This is used to crop the images using old cropping methods.
- Auto-center preview – The unshielded area is put in the centre of the window.
- Show cropped area – turning off this feature results in Photoshop not showing the area that is to be cropped.
- Enable crop shield – By enabling this feature, Photoshop will darken the area that will be cropped.
- Colour – It determines the colour of the shield.
- Opacity – The opacity of the shield is determined.
- Delete cropped pixels: turning off this option allows you to access the cropped photograph in its original form with the deleted pixels of the image.
This brings us to the successful end to the learning of how to use the crop tool in Photoshop. As we can see, the process is very simple for everyone including Beginners to be understood.


