
How to Add Hair Highlight in Photoshop
Contents
HOW TO ADD HAIR HIGHLIGHT TO PHOTOSHOP
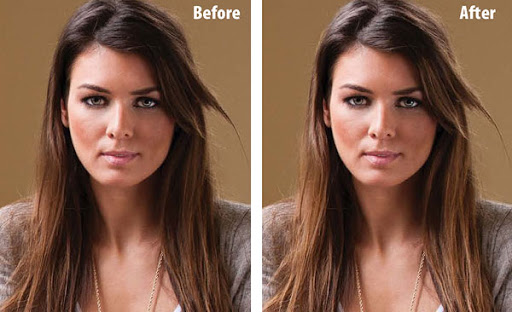
Hair highlights are the new trend this season! But, imagine if you could add this highlight directly into your image! Yes, it is possible with software editing software, Photoshop. Follow these simple steps and add that funky hair highlight to make your image look awesome!
-
Duplicate the Layer
Open the image in Photoshop. Next, to duplicate the background layer, go to the ‘Layer’ menu, and select ‘Duplicate Layer’. Name it as ‘Layer 1’.
-
Change the blend mode
Next, set the blend mode of this duplicated layer to ‘Screen’. This will result in the lighting up of the image.
-
Add a layer mask
To lighten up the hair highlight only, we need to add a layer mask. Go to the ‘Layer’ menu, click on ‘Layer Mask’ and then select ‘Hide All’. Adjacent to the Layer 1 in the layer box, there comes a rectangular box.
-
Painting the highlight
Select the ‘Brush’ tool from the tool panel. Set the foreground color as ‘White’. Next, start brushing the part of the hair you want to highlight.
- Decrease the intensity
To reduce the intensity of the picture, set the opacity to 1.58% in the Layer window.
And, the picture is done! So, it is this easy to add hair highlight to your image using Photoshop!


