Learn to Extract in Photoshop
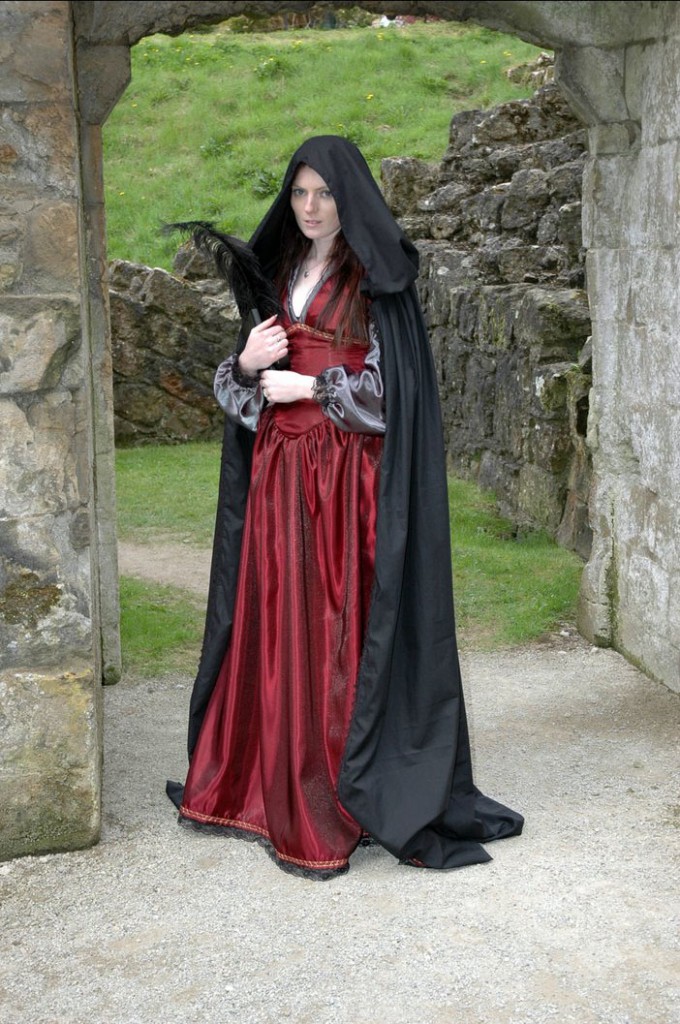
extract in photoshop initial
Step 8 –> Finer your selection
Our selection is still not perfect. Photoshop did not select parts of the cloak and the feather even after we have used the expand detection area brush. You would need to zoom in a lot. For this press Ctrl + (+) (plus) or Ctrl + (-) (minus) (Use Cmd in mac) to zoom in or zoom out respectively or use the Zoom tool form the tool menu. To have a perfect selection use the pen tool. Pen tool will be explained in the upcoming tutorials.
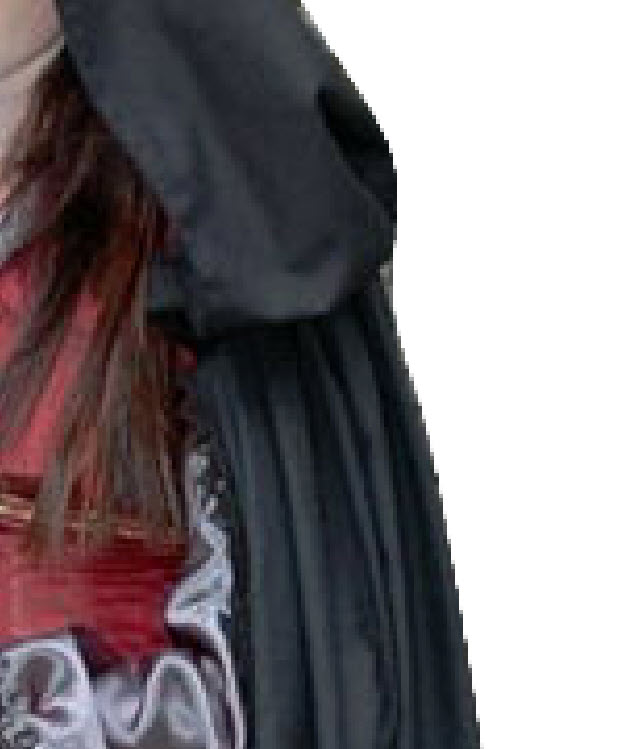
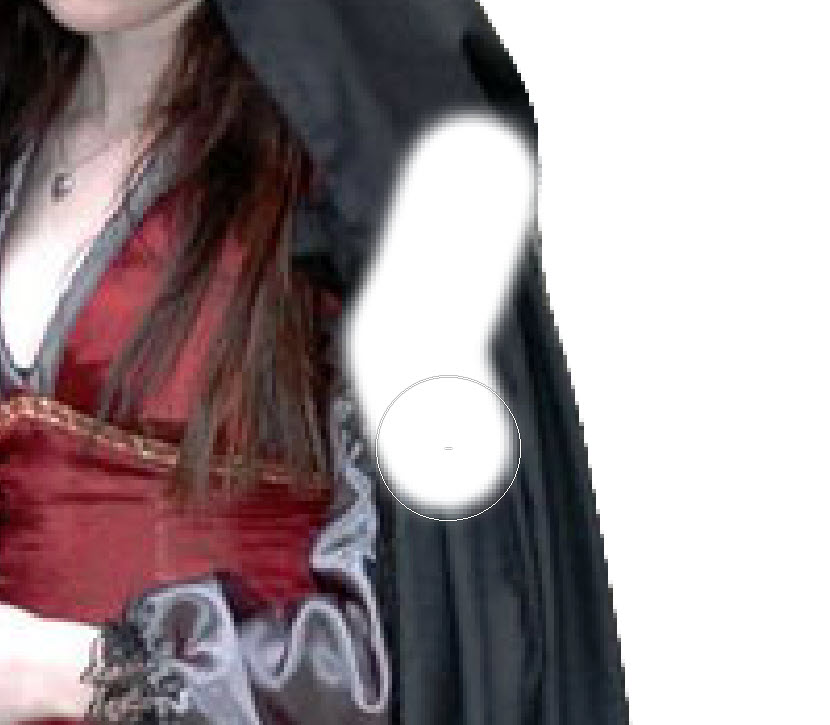
Due to zoom of about 350% the image looks pixelated. Once zoomed we would have got our edge expand tool turned on. To turn on erase refinement tool press and hold Alt/Opt and you would see that the (+) sign converts to (-) sign, indicating that your refine radius too has changed to erase refinement tool. This tool removes the refinement, opposite to the tool we have used. The feather and part of her cloak was not selected and we would use the erase refinement tool. Since you would have already pressed the Alt/Opt, apply the same to the cloak and feather.
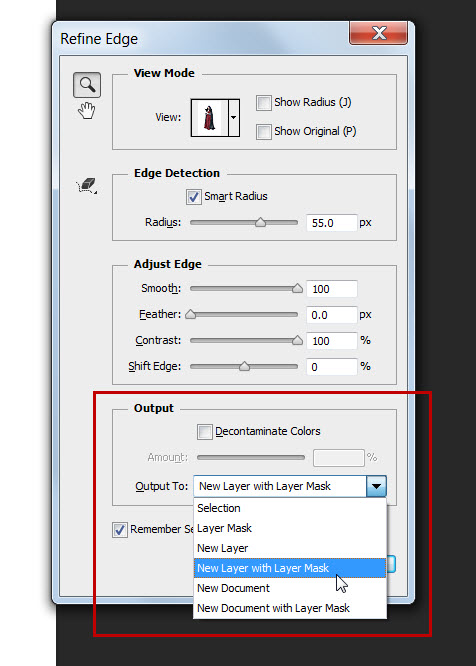
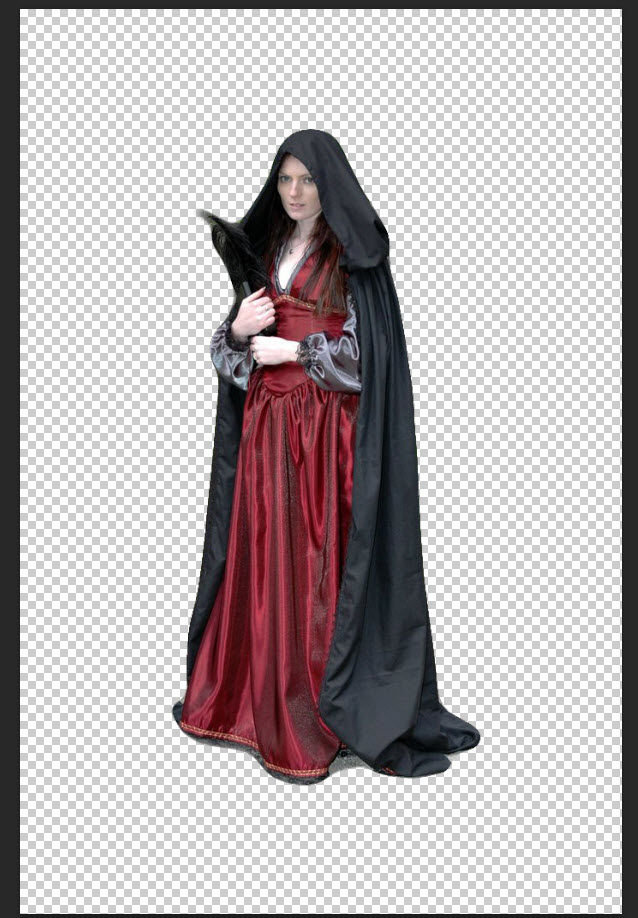
Selecting the pen tool would have given us much better selection. However we have used quick selection too and improved our selection a lot by using the refine edge tool. Further change the output to new layer with layer mask as shown in the figure. Confirm this by pressing Ok. Observe that the presence of gray and white square box would mean that the background is transparent.
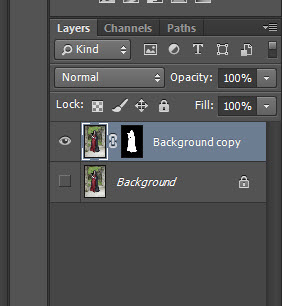
Press F7 > A new layer opens>press and hold the Ctrl/Cmd button > Click on layer mask of “layer 1”
Result –> selection of the entire thing we have selected and refined, as in my case it’s a girl.
To copy this selection press Ctrl+C/Cmd+C. Now Open and create a new document by pressing Ctrl+N/Cmd+N . Now paste by pressing Ctrl+V/Cmd+V.
That is all. I would be back soon with more tutorials.

