
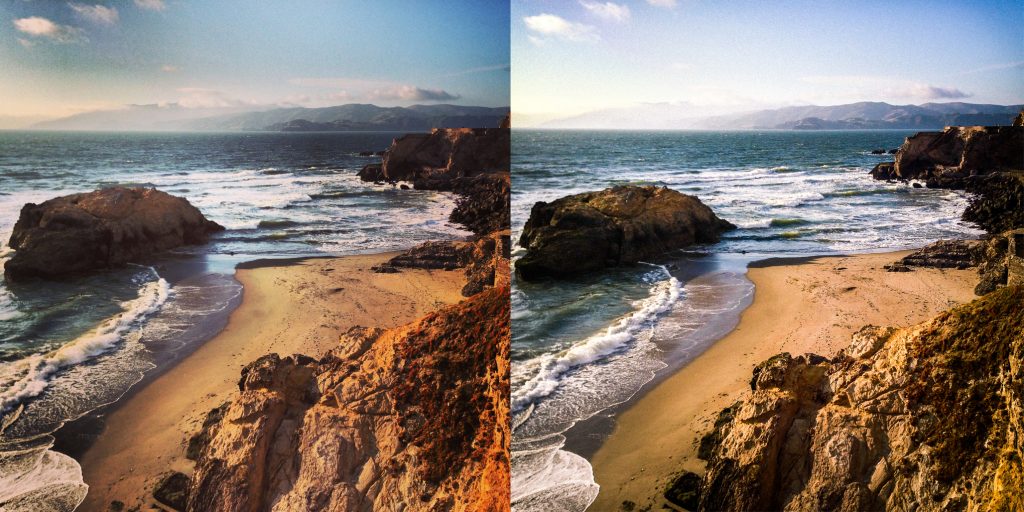
Creating Lo-Fi Effect Using Photoshop
Photoshop is a software/tool that needs no description. Its utility speaks volumes of the advantages it gives us when it comes to modifying photographs. The use of Photoshop is widespread starting from professionals to the common man, and it shows that the impact it has had on Photography is truly remarkable and magnificent. Grab a detailed and official guide for Photoshop here.
Have you heard about the Lo-Fi effect? You must have.
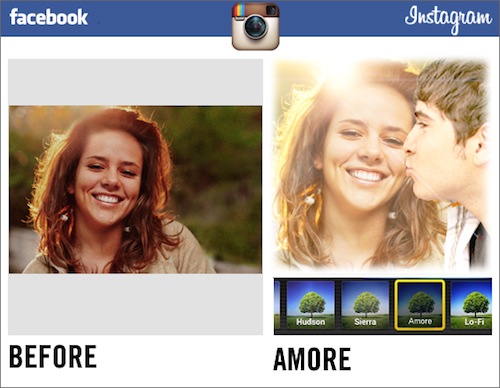
These days Instagram is quite the trend among everyone, and when it comes to uploading photographs on Instagram, Instagram’s Lo-fi effect has found quite a large audience base of its liking. And much like we expected, we can produce Instagram’s Lo-Fi effect in Photoshop as well. In this article, we will focus on how to create Instagram’s Lo-Fi effect in Photoshop. Here are the steps:
- As we know, first we upload the image into Photoshop. Once this is done, the very next thing we do is adjust the ‘Levels’. To do this, click on Layer>New adjustment Layer>Levels. Now change the settings as shown in the image below.
- The next step involves adding the Vignette Effect to the image. For doing this, create a new layer named ‘Vignette’. Now go to tool panel click on Elliptical Marquee Tool and then draw an ellipse.
Now invert the selected area by pressing Ctrl + Shift + I/Cmd + Shift + I. The next step is to increase the feather value of the selected area as per requirement. Then click OK.
Now select black as the foreground colour and press Alt + Backspace/ Opt + Delete to fill the selected area with black colour. Now we change the blend mode to Soft light and then decrease the opacity percentage as per the choice. Now we deselect the selected area by pressing Ctrl + D/Cmd + D.
3. Now the next step is to add curves. To do this, click on Layer>New adjustment layer>Curves. Now we change the preset selection to Lighter.
Next, decrease the brightness of the sky by using curves. For this, change the value of Output to 227.
- This step involves the following
- Add a new layer by pressing Ctrl + Shift + N/Cmd + Shift + N and name the layer ‘Noise’. Now make the foreground colour as black and then press Alt + Backspace/ opt + Delete.
- Next click on Filter>Noise>Add Noise. Now make the value of Amount as 10, change the distribution to Gaussian and turn on the Monochromatic option.
- After this, change the blend mode of layer ‘Noise’ to Screen.
- The final step involves the below-mentioned steps:
- We adjust the proper amount of noise in the image by using Levels. For carrying this out, click on Layer>New adjustment Layer>Levels.
- Now change the settings as shown in the image below. Then finally click on Create Clipping Mask which is encircled in red in the image below.
We have now successfully created Instagram’s Lo-Fi effect in Photoshop using the steps above. It definitely isn’t that much of a lengthy process to learn how to produce Instagram’s Lo-Fi effect in Photoshop. However, the steps must be sequentially followed with proper attention to producing the best result.