Using Photoshop Cs6 To Create Spot On Billiard Balls
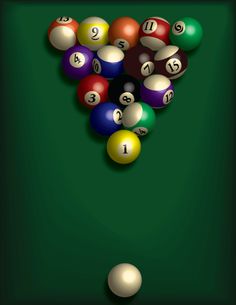
Editing a picture on your phone is easier than creating something new in Photoshop because too many tabs with too many options leave us pretty swamped. But a simple tutorial goes a long way- for instance, to create ultra-clean billiard balls in Photoshop.
Here we will go step by step while understanding the commands we will use, and once you’ve got the hang of the preliminary steps the rest is pretty much a repetitive drill.
So, here goes.
Step 1: First things first. You need to create a fresh document. Press Ctrl+N or Cmd+N, and you are good to go. Set the width and height to 1600 by 1600 pixels, and the resolution of 72 pixels per inch. Make sure that the background contents is ‘Transparent’ and set the colour mode to RGB.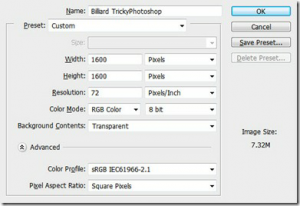
Step 2: Now scroll to the Tool panel and select the Ellipse tool. Or you can use the shortcut key- Shift+U- repeatedly, until the desired option shows up.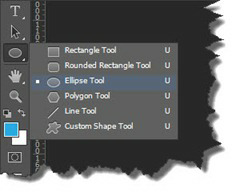
In the upper panel of the Options Panel change the following things:
- Mode to Shape
- Fill to Black colour
- Stroke to black colour
- Width to 17pt.

Press and hold the Shift key to draw an ellipse and then press the Enter/Return key.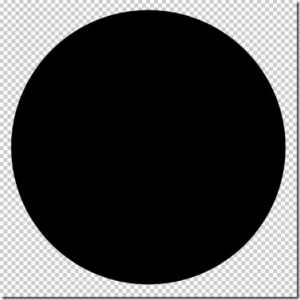
Step 3: To begin creating the bottom-most reflection, press F7 to open layer panel. Then press and hold Ctrl/Cmd and click on the layer thumbnail of the ellipse 1 layer.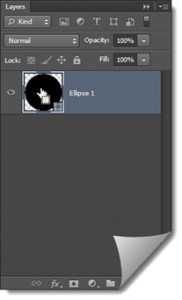
Do you see the ants marching in the background of your circle? You’re doing it right!
Step 4: Now come the steps you’ll like to remember because they will be repeated, later.
Go to the Tool panel and select Elliptical Marquee Tool or keep the shortcut keys handy and press Shift+M until it appears. In the Options Panel change the mode to ‘Subtract from Selection’. Then subtract selection and select only the bottom part.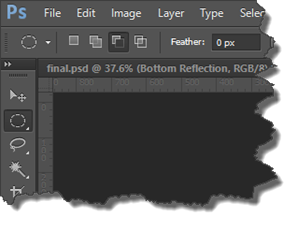

Step 5: Alright, we’re halfway through to create ultra-clean billiard balls using Photoshop. This is what you do next. Create a new layer by pressing Ctrl+Shift+N/Cmd+Shift+N, and rename it as bottom reflection.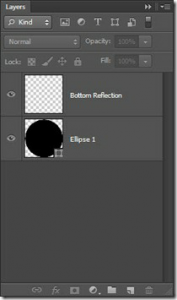
From the tool panel, select the gradient, and make white as the foreground colour.
Then go to Options panel and change
- the type to “foreground to transparent”
- mode to ‘’linear”
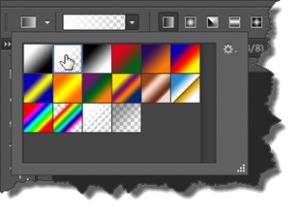
Now press and hold Shift to draw the gradient.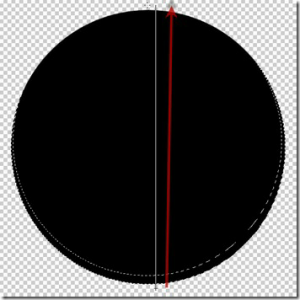
Step 6: Press Ctrl+d/Cmd+D to deselect Selection.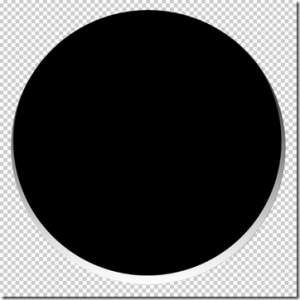
Set down to opacity to 52%.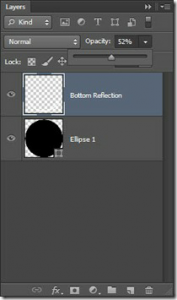
Go to the Filter option and select Blur and set it as a Gaussian blur. After setting the radius to 31.9 pixels, press OK.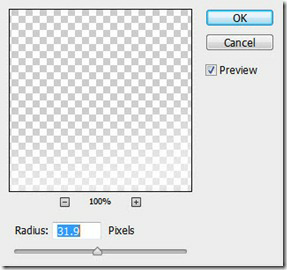
You should have something looking like this: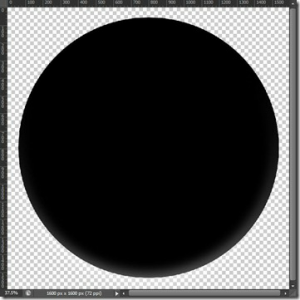
Step 7: Now on, it is pretty much the same thing, so to create ultra-clean billiards ball in Photoshop is a piece of cake now.
Repeating the 5th step, to create a new layer- press Ctrl+Shift+N/Cmd+Shift+N.
Rename the layer as a 2nd bottom layer.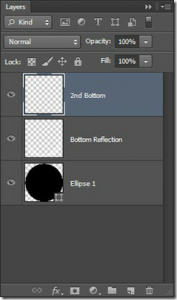
Go to Tool Panel and select Elliptical Marquee Tool or press Shift+M repeatedly till it comes.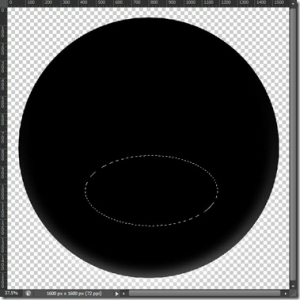
Now on the “Top” one of the Options Panel, click on “Refine edge” and increase feather to 81.9 pixels. Press OK.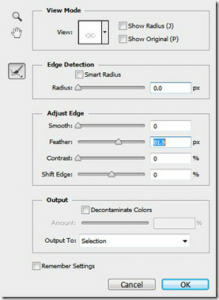
Press D to select foreground colour as black and background colour to white. And make sure that the 2nd bottom layer is active. Since white is already the background colour, to fill the selection with white colour, simply press CTrl+Backspace/Cmd+Delete.
Deselect the selection by pressing CTrl+D/Cmd+D. Reduce the opacity to 76%.
The image should now look like this: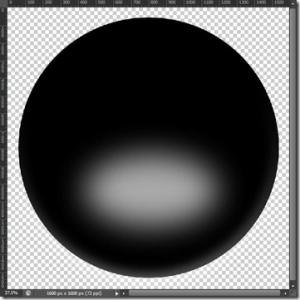
Step 8: Again create a new layer by pressing Ctrl+Shift+N/Cmd+Shift+N, and rename it as “Body Reflection”.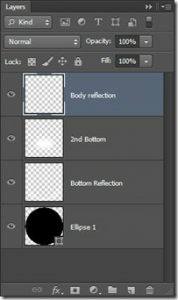
Repeat the following drill: Tool Panel> Elliptical Marquee. Or, press Shift+M again and again until it appears.
Make Selection as shown: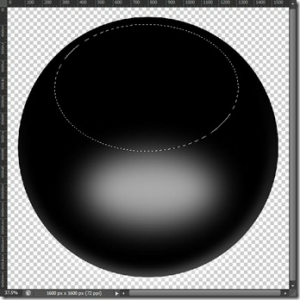
Then, go to Tool Panel> Gradient, and select mode to “foreground to transparent” and “linear”.
After making white as the foreground colour, draw the gradient by pressing Ctrl+D/Cmd+D. And then deselect the selection, to obtain something like this.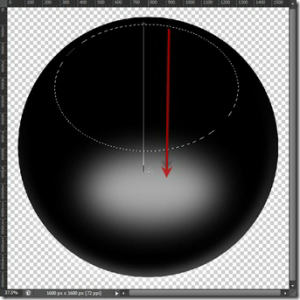
Step 9: From Tool panel, select the ellipse tool or press Shift+U again and again until it comes. Go to Options panel to make sure that stroke is “no colour” and the fill is white.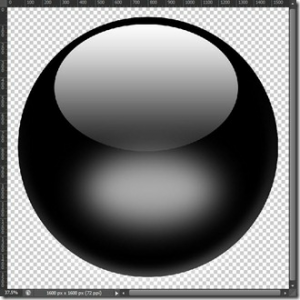
Draw the circle as shown: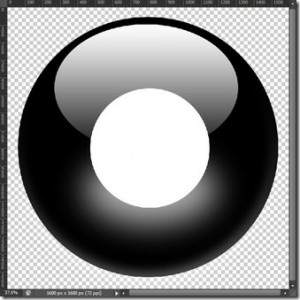
Press Enter/Return.
Step 10: Follow this: Tool panel>Text Tool, or simply press T.
Type 8.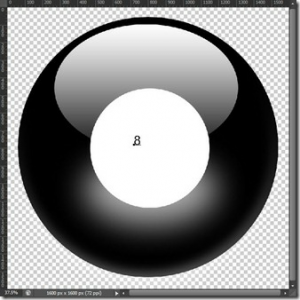
And finally, adjust the text using the Move tool or by pressing V.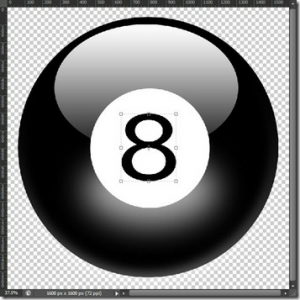
And voila! It’s done. You have successfully created an ultra-clean billiards ball using Photoshop.


