How to Use Patch Tool in Photoshop

how to use patch tool in photoshop
Photoshop gives the direct benefits of editing photographs within easier reaches of our hands. This has simplified the means of obtaining quality photographs. Photoshop has always aided to the development of quality of an image. The patch tool is beneficial in removing patches from the face. In this article, we shall look at using the Patch tool in Photoshop.
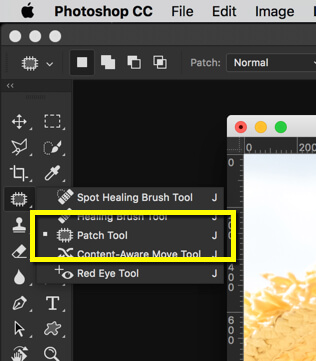
1. Patch tool is a tool that helps to create an artificial pattern on the surface at the affected region with the help of Photoshop’s Content Aware Technology. To activate it, go to tool panel and click on it or press Ctrl + J.

2. Before using it, first, duplicate the layer so as to allow the process to be constructive. To do this, press Ctrl + J/Cmd + J.
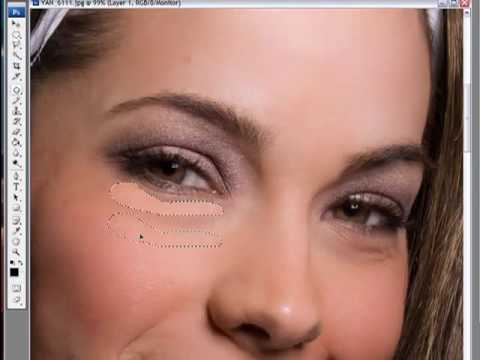
3. The next step in using the patch tool is identifying the affected region and encircling the flaw that will be removed. Then move it to the area where the flaw will be filled.
 4. The final step is to deselect the selection by releasing the mouse. The following are important features of Patch tool in Photoshop:
- Patch – This option tells us which technology the Patch tool uses. The ‘Normal’ option allows the source pixels to be patched with the target pixels and then replaces the source pixels there.
- Source/Destination – In the source option, the flaw is encircled and moved to the target area. While in Destination option, the destination is encircled and moved on the flaw.
- Use pattern – The use pattern feature helps to use a pattern in accordance with the blending of pixels.
- Diffuser – The diffuser bar adjusts the amount of time involved in adapting the pasted region to the surroundings. While low slider values produce high-quality details, higher slider values are suited for smooth images.
And now we have finally studied the basics of the Patch Tool in Photoshop. As the steps are pretty simple, the process of learning how to use patch tool is easier to understand for beginners.


