
How to Use External Hard Drive as Scratch Disk for Photoshop
Photoshop has changed the very essence of the art of Photography. While the soul of Photography continues to be constant i.e. to make us look better, yet the process of ensuring that has transformed considerably. Photoshop has made things simpler and faster when it comes to photo editing and photo processing. However, storing image files has always been a tedious task because of the size issue. Storing Photoshop information requires significant amounts of storage space which is otherwise not available mostly due to background running apps. Hence, to store Photoshop information, we employ an external Hard Disk Drive that can store the information for use. In this article, we shall look into the steps involved by which an external Hard Disk Drive can be used as a scratch disk to store useful information related to Photoshop. Essentially a scratch disk is an area that is used for storing information regarding Photoshop so as to allow appropriate functioning of Photoshop actions.
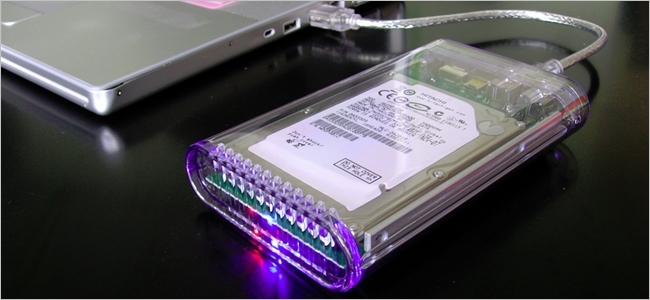
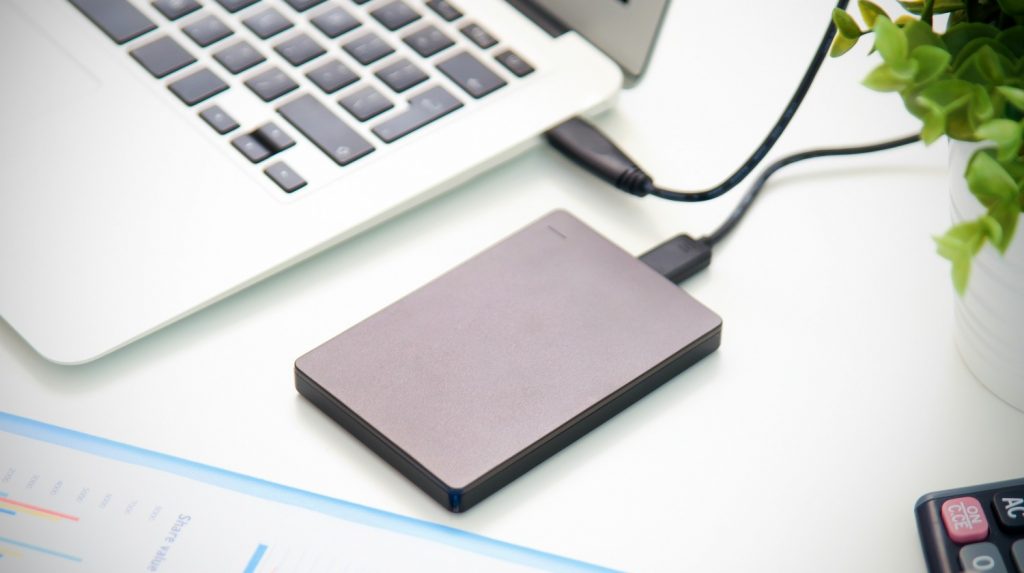
- The first thing to do is to connect the computer to an External Hard Disk Drive. After this, go to my computer and locate it when you open My Computer.

- The next step is to open Photoshop. Click on Edit>Preferences>Performance.

- Then locate the Scratch Disks Box. Inside the box, select your external Hard Disk Drive and then click on OK. After this, restart Photoshop, and then the External Hard Disk Drive will start acting as a scratch disk.

Thus, we see how to use an External Hard disk drive as a scratch disk using a very simple process. Scratch Disks are important to create extra memory storage space for other information, and this is how it stores extra data in Photoshop, thus helping us indirectly.


