
Giving A Brighter Touch To An Underexposed Photo Using Photoshop
Let’s begin with a fact. Not everyone is a good photographer. But sometimes even a good picture falls prey to the unsuitable environs in which it was clicked. But not to worry. That’s what we have Photoshop for. Sometimes the picture gets too dark. This is called overexposure, and in the few following steps, we’re going to see how we can fix an underexposed photo using Photoshop.
Step1: You begin with opening your photo in Photoshop. Since you might want to keep the original one, you need to duplicate the layer which can be done by either of the two ways: pressing ctrl+J/cmd+J or clicking on the Duplicate Layer option in the Layer panel. Press F7 to open Layer panel and you’ll see a new layer named background copy, which appears by default.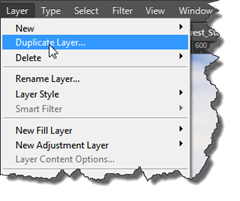
Step2: Now to lighten up the image, change the mode of “background copy” to screen. Mind you; this will lighten up the whole image- including the background. But nothing to worry about, it will be fixed later.
Step3: Next thing on the list of fixing an underexposed photo with Photoshop is to add a layer mask, which can be done by clicking on “add layer mask” option present at the bottom of the layer panel.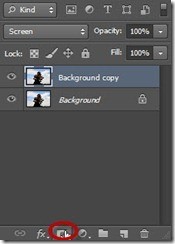
From the tool panel, select a brush.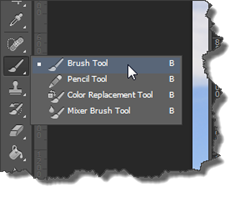
After making black as your foreground colour, apply brush wherever exposure has magnified. In the image, a certain colour(usually red) will highlight the region where the brush has been applied.
Step 4: Repeat Step 1 to duplicate the background copy by pressing ctrl+J/cmd+J. As in step 2: change the mode to screen. This time the underexposed part will brighten up even more, but because of the layer mask, the background will not.
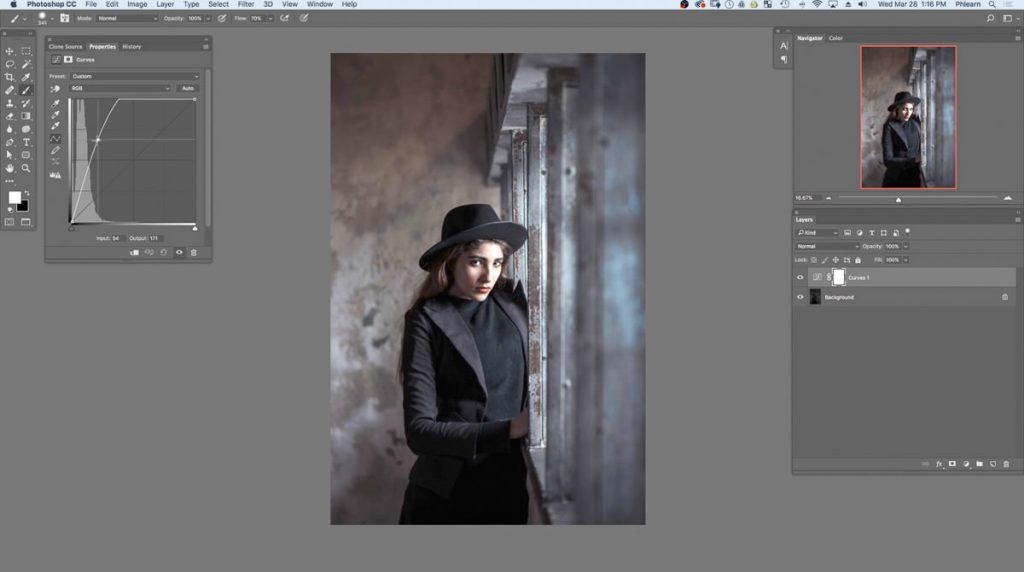
Step 5: Go to the layer panel, click on add adjustment and then click on Curve.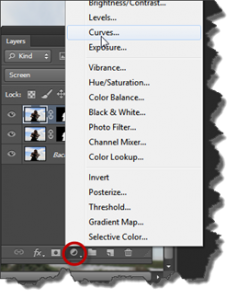
Step 6: Now raise the middle tone, which- again- might increase background exposure. That will be fixed later.
Again, as was done in step 3, make black your foreground colour and on the layer mask of the curve, apply the brush.
Step 7: Now for the last step to fix an overexposed photo with Photoshop, activate your “background” layer. Then Add Adjustment Layer>Exposure. To give a more attractive look to the background increase the gamma to 0.51.
Now click on the layer mask of “gamma”, change the foreground colour to black and apply the brush on the underexposed part.
And we’re done! You’ve made the picture better by fixing the underexposed photo using Photoshop.


