Creating Instagram Clarendon Effect Using Photoshop

Photoshop has granted us immense opportunities to take our imaginations to new levels. With the availability of multiple options in various aspects of photo editing, Photoshop has saved the day for us countless billions of times. Not only can we reproduce authentic effects, but we may also go on to design a new effect with the help of Photoshop. The much recent Instagram effects are no exception to Photoshop’s capabilities either. We can create any Instagram effect we wish to use Photoshop. In this article, we shall see how to create Instagram’s Clarendon effect using Photoshop.
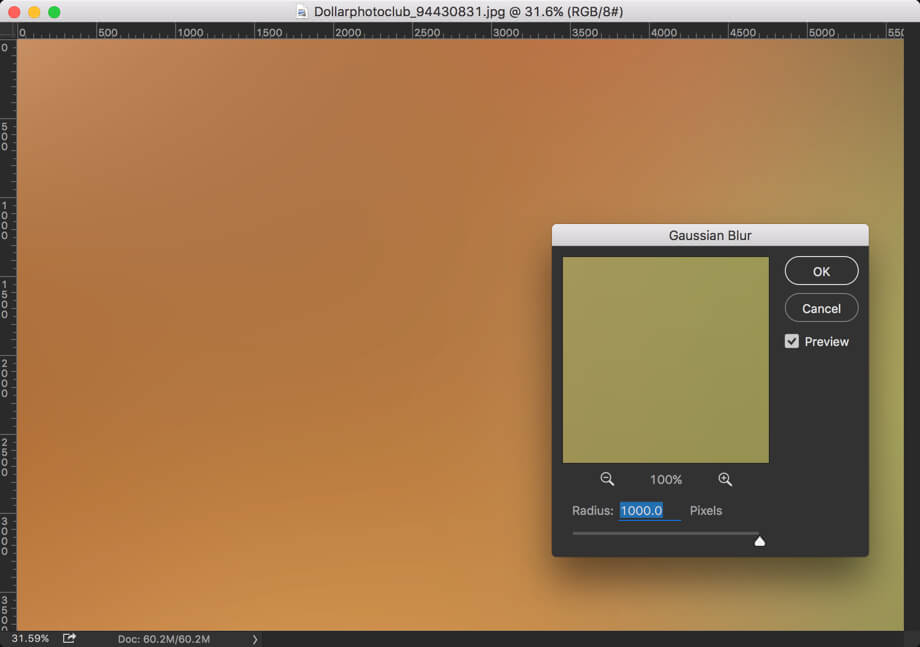
- The first step is to upload the image into Photoshop. Then we determine the tint of colour present in the image. We do this by blurring the image excessively. Click on Filter>Blur>Gaussian Blur and set the slider at 1000 pixels. Then press I activate the Eyedropper tool and then click on the colour to sample it. Then click on Foreground colour. Next copy the HEX code by pressing Ctrl + C.
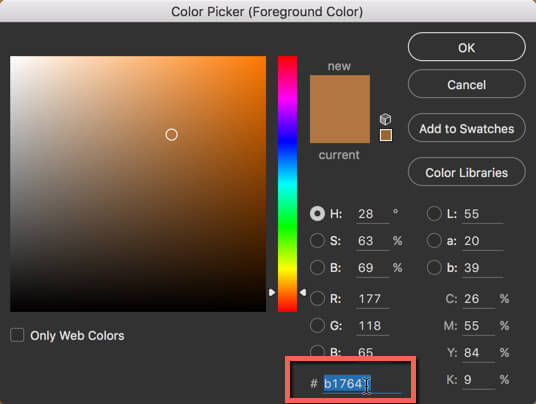
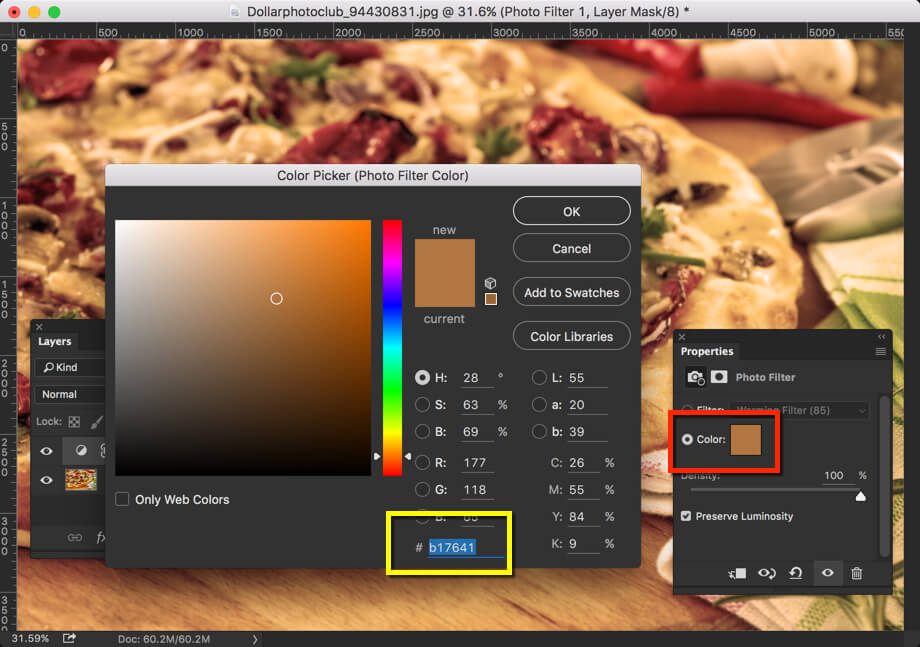
- The next step is to click on Layer>New Adjustment Layer>Photo Filter. Turn on the colour in the red box in the image below and paste the copied HEX code. Then ensure the Drag Photo filter is all the way at 100% and also that the ‘Preserve Luminosity’ option is turned on.
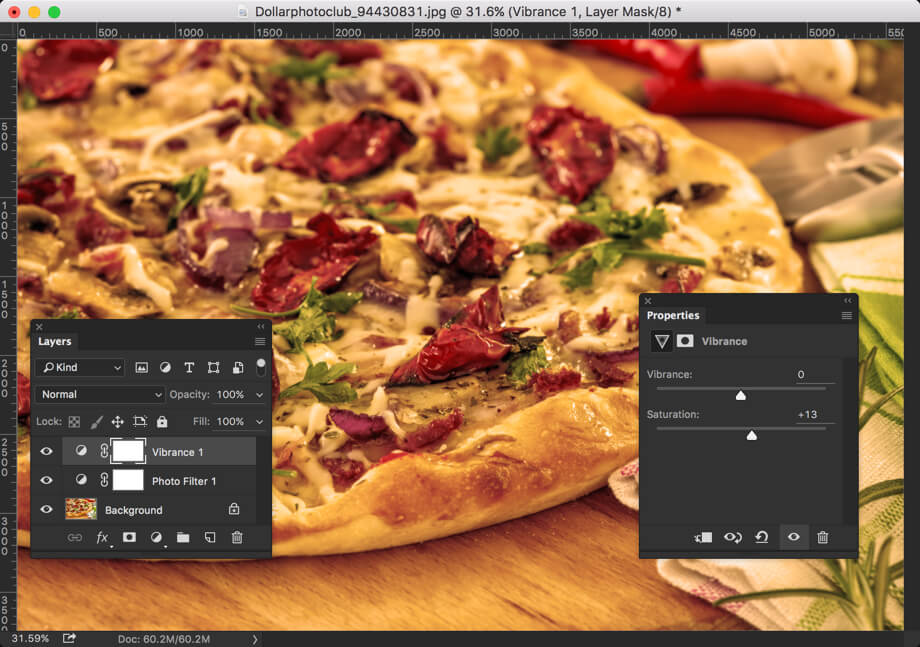
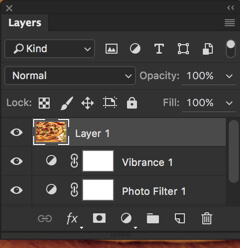
- The penultimate step is to Click on Layer>New Adjustment Layer>Vibrance and then increase the saturation percentage by 10 to 15.
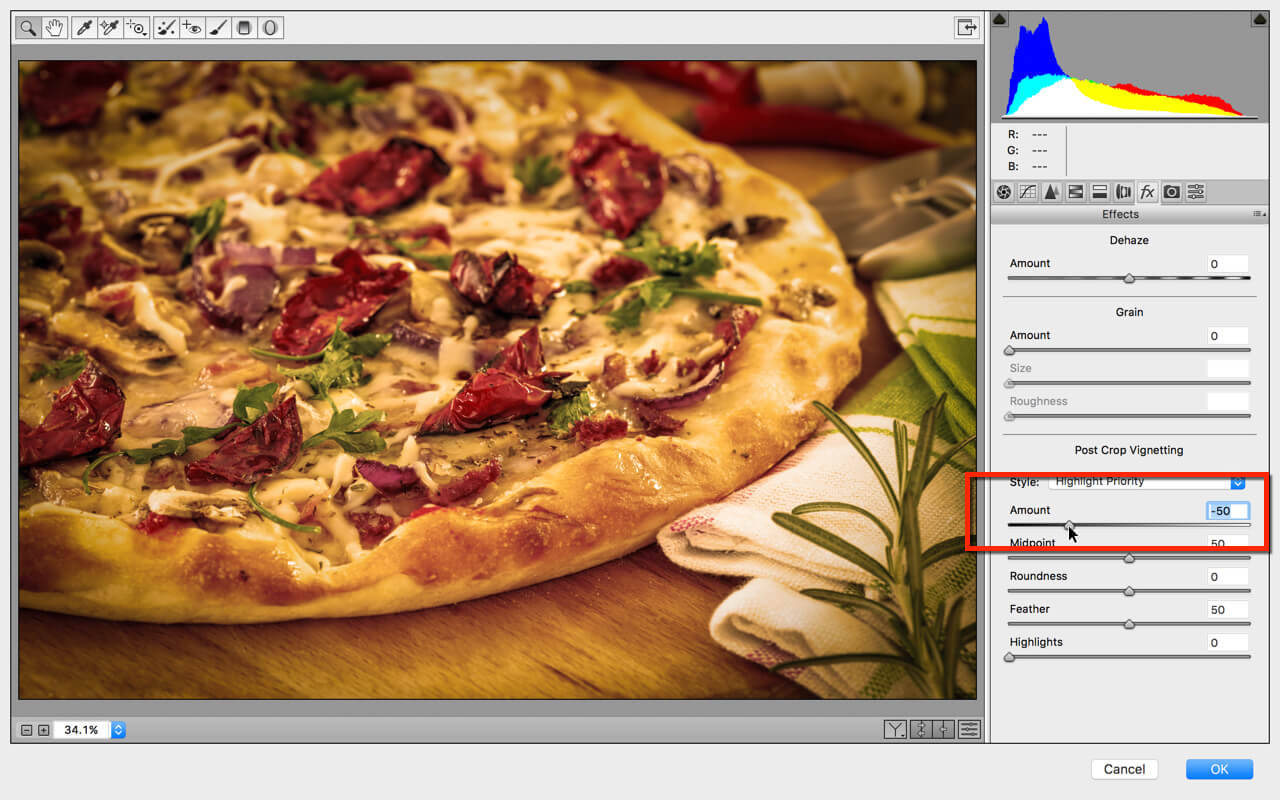
- In the last step, first, we stack all the layers into a new layer which in turn creates a new layer at the top of the layer panel. Then click on Filter>Camera>RAW filter. Then go to the fx tab and decrease the Amount in Post Crop Vignette by a percentage of -50. And then click OK. And now we are done with the effect.
Thus we learnt how to add the Instagram Clarendon effect to an image using Photoshop using the above mentioned systematic steps. To master the process, one must follow the steps above sincerely and meticulously.


