
5 Effective Ways to Convert Images to Black and White Using Photoshop
Black and white images are in! There are so many filters and effects that help you convert images to black and white. So, what are the different software that can help you convert images to black and white? Hands down, the answer to this is Photoshop! Convert images to black and white using Photoshop – That is super easy and super convenient. The best part of it all is that there are many ways by which you can convert images to black and white using Photoshop. Let us now see 5 ways to convert images to black and white using Photoshop all of which will give you different but desirable outcomes!
-
Contents
METHOD 1 to convert images to black and white: DESATURATE
As the name suggests, this option will desaturate the colours of the image and give you a black and white image. Though, the result is not up to the mark with this method. You can, however, use this option by selecting Image à Adjustment à Desaturate. The keyboard shortcut for this is Ctrl+shift+U/Cmd+shift+U.
The image loses its contrast on the use of ‘Desaturate’. A lot of adjustments layers will be needed to get it right using ‘Gamma corrections’. ‘Gamma corrections’ can be added by selecting Layer à New adjustment layer à Exposure. Now, move the ‘Gamma correction’ slider to increase its effect.
This image used for work is in JPEG format. The noise in the sky is created because the JPEG format compresses the image thus, reducing its quality. No noise will occur if the image is shot in RAW.
-
METHOD 2 to convert images to black and white: BLACK AND WHITE ADJUSTMENT LAYER:
This method gives you a better contrast on converting the image to black and white using Photoshop. Select Layer à New adjustment layer à Black and white. This gives rise to a box with multiple sliders for different colours.
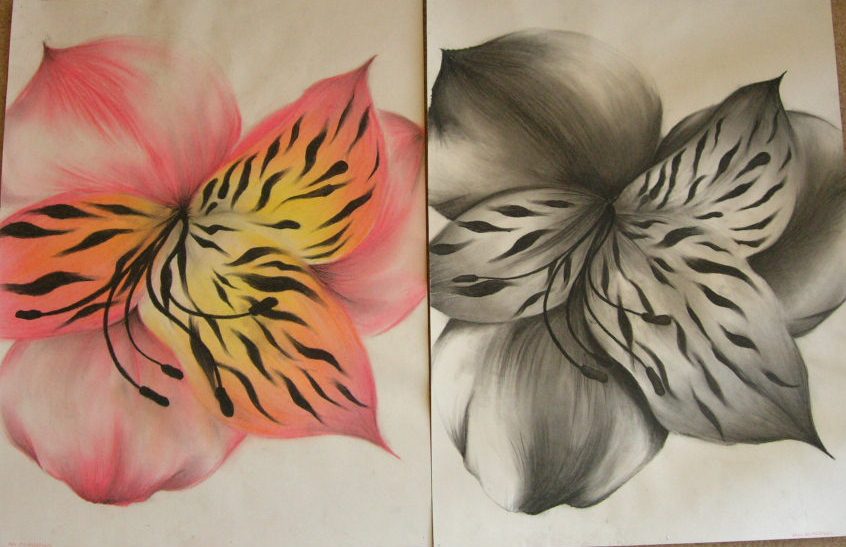
Here, you can play around with the colours’ sliders in the panel achieving an outcome of your wish with better contrast than that of the previous method. The following image gave the best black and white combination according to me.
-
METHOD 3 to convert images to black and white: LIGHTNESS CHANNEL
One of the rarest methods used to convert an image to black and white in Photoshop, Lightness channel works pretty well.
The image mode has to be first changed by selecting Image à Mode à Lab colour. Now, select Window à Channel. Click on ‘Lightness channel’ and for selecting the whole channel, press Ctrl+A/Cmd+A.
After the selection of the entire image, press Ctrl+C/Cmd+C. This will copy the selected pixels. We have to create a new layer now. You know the drill; press Ctrl+Shift+N/Cmd+Shift+N. After the creating of the new layer, to paste the selection, press Ctrl+v/Cmd+V. Now, change your image mode back to RGB or CMYK. For this, select Image à Mode à RGB. On selecting RGB, a new dialogue box will open. Click on ‘Don’t Flatten’ in that box.
Let’s see the difference in outcomes using Desaturate and Lightness Channel.
-
METHOD 4 to convert images to black and white: GRADIENT MAP
Don’t have much time for converting the image to black and white using Photoshop? This is your thing! The second most used method for gray-scale conversion, Gradient map works well.
For this, you need a black foreground and a white background. Press D for a keyboard shortcut. Open Layer à New adjustment layer à Gradient map. Close the new ‘Gradient map’ panel. This is another easy and fast way to convert the image to black and white using Photoshop.
Let us now compare its results with that obtained by using Desaturate. Why? Because ‘Desaturate’ gives the worst results, that’s why.
-
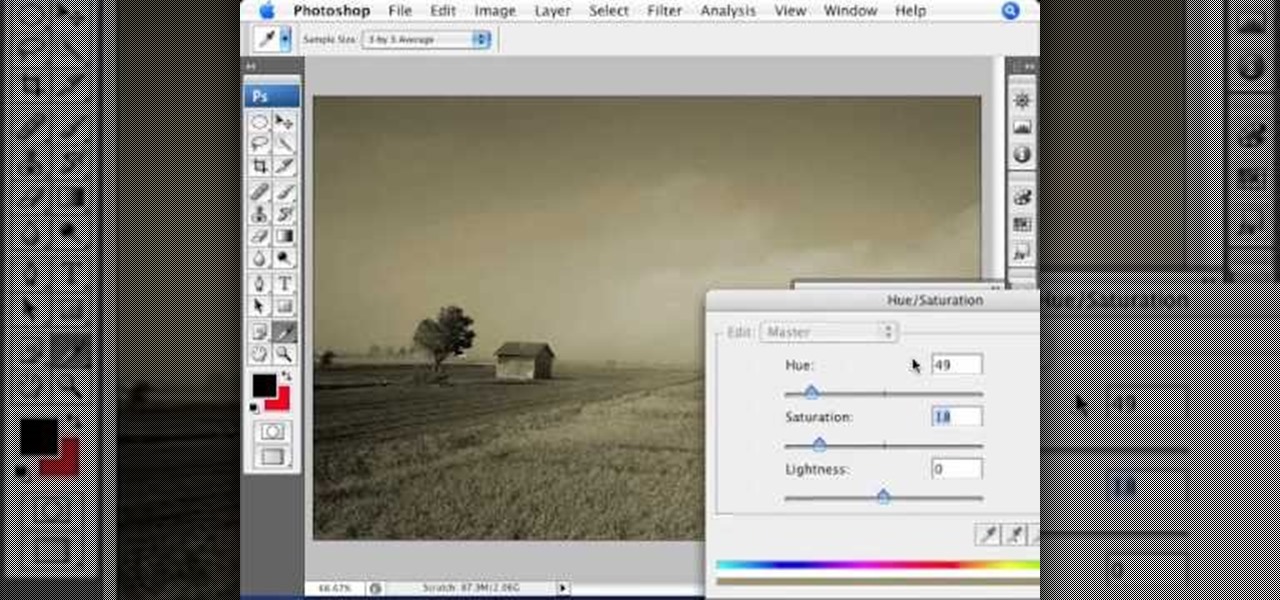
METHOD 5 to convert images to black and white: HUE, SAT AND LIGHTNESS ADJUSTMENT LAYERS
Meh, the results won’t vary much using this method. It’ll look similar to what we obtained using the first method.
Select Layer à New adjustment layer à Hue/Saturation. Now, drag the slider to ‘Saturation’ to the extreme left. Your job’s done!
Conclusions:
- The best results to convert images to black and white using Photoshop are obtained by using B/W adjustment layers and by the method of Gradient Mapping.
- Saturation can give great results too but only by using ‘Gamma corrections’ and curve enhancements.


