
Converting Your Image To Pencil Sketch Using Photoshop
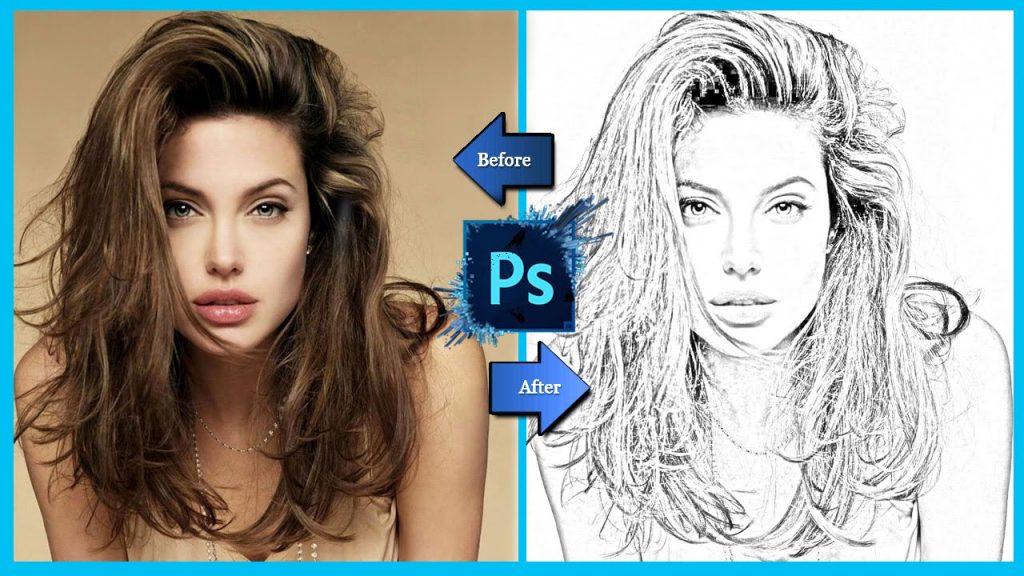
Convert Image To Pencil Sketch
The advantages of Photoshop are boundless and unimaginably important. The benefits that have resulted as a result of Photoshop can be seen in the smile of a person who edits his photo using this wonderful software. Starting from editing photos to adding effects, Photoshop literally creates a virtually new photograph out of every photograph we edit in it. And so this software has always found widespread acceptance from everyone.
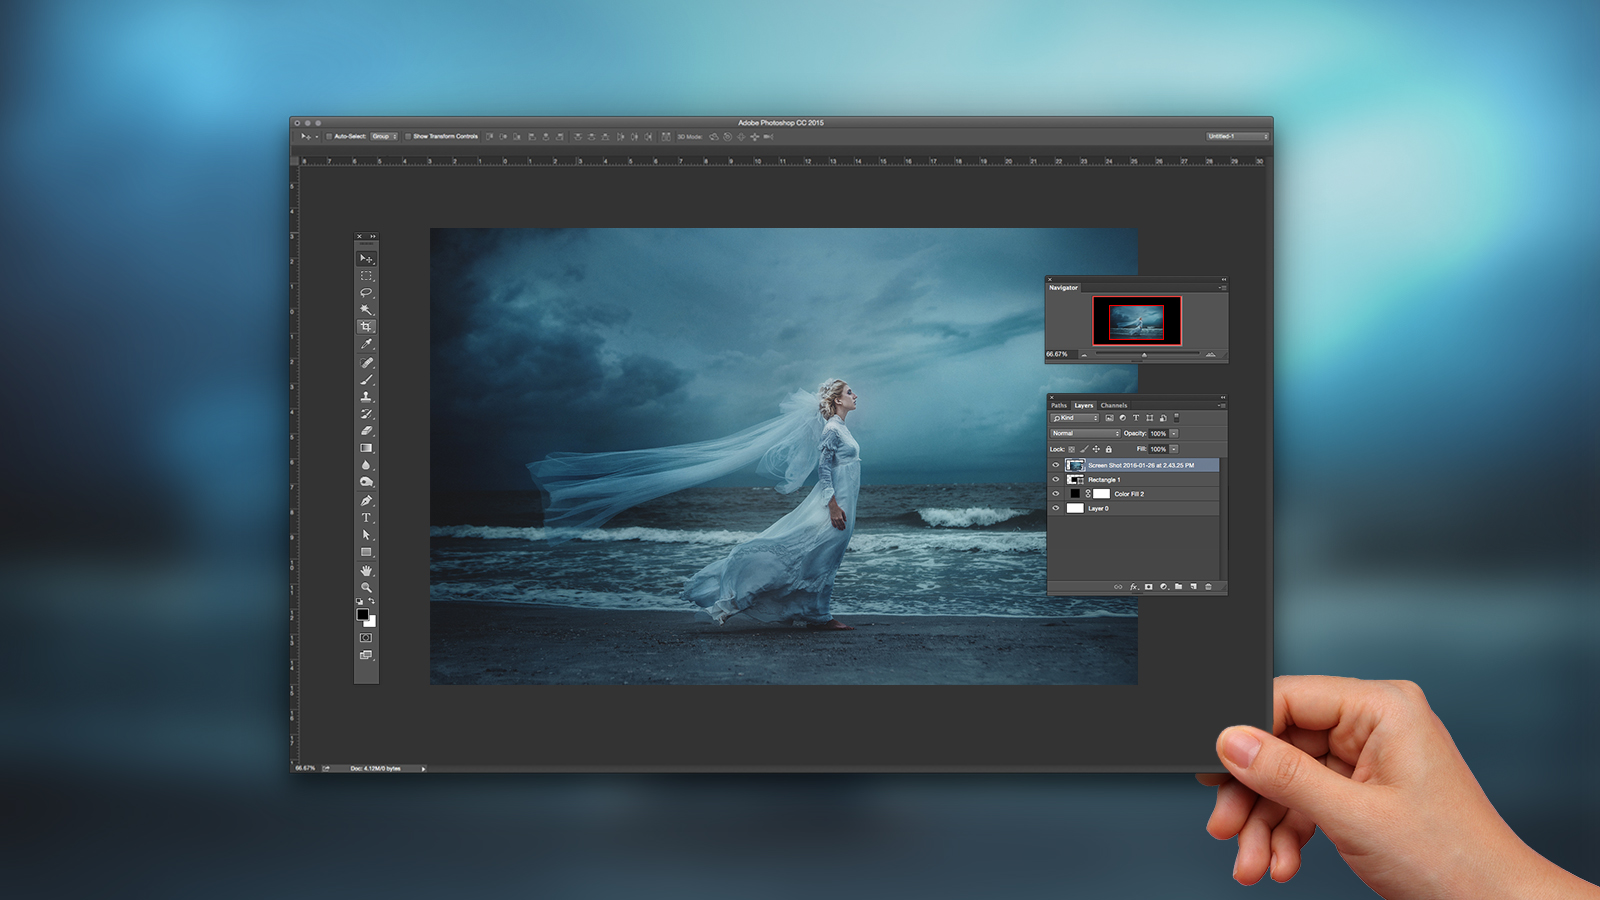
Edit Your Image with Photoshop
Pencil sketch is a relatively new trend these days. Editing the original photograph to add a touch of pencil type drawing to it does sound cool and funky too. In this article, we will learn lucidly how to convert an image to pencil sketch using Photoshop here is the best seller for the ultra thin tablet click to see.
- The first step of the procedure is opening the image in Photoshop.
- Next Desaturate the image by pressing the shortcut keys Ctrl + Shift + U/Cmd + Shift + U
- Next, duplicate the layer by pressing the shortcut keys Ctrl + J/ Cmd + J
- This creates a new layer that can be viewed on the layer panel as “layer ”
- The second step involves changing the blending mode of the new layer “Layer 1” to colour dodge. As a result of this, the amount of whiteness in the image is increased.
- Next step is to invert the ‘layer 1” by pressing ctrl + I/cmd + I. The same can also be done by clicking on image option>Adjustments option>Invert. This will result in a white image due to colour blend mode.
- The next step is to click on Filter>Blur>Gaussian blur. This results in blurring of your photo.
- Next, go to Radius in Gaussian Blur and give the value around 75 pixels. The value of the pixels must be chosen according to the dimensions of the image selected. Then Click Ok.
- Now go to the bottom of the layer panel and click on “Add adjustment layer” option. Next, click on the “Levels” option. This will balance the whites and blacks in your image.
- The next step is to adjust the contrast in your image. Move the grey slider to the right to a value of about 0.80.
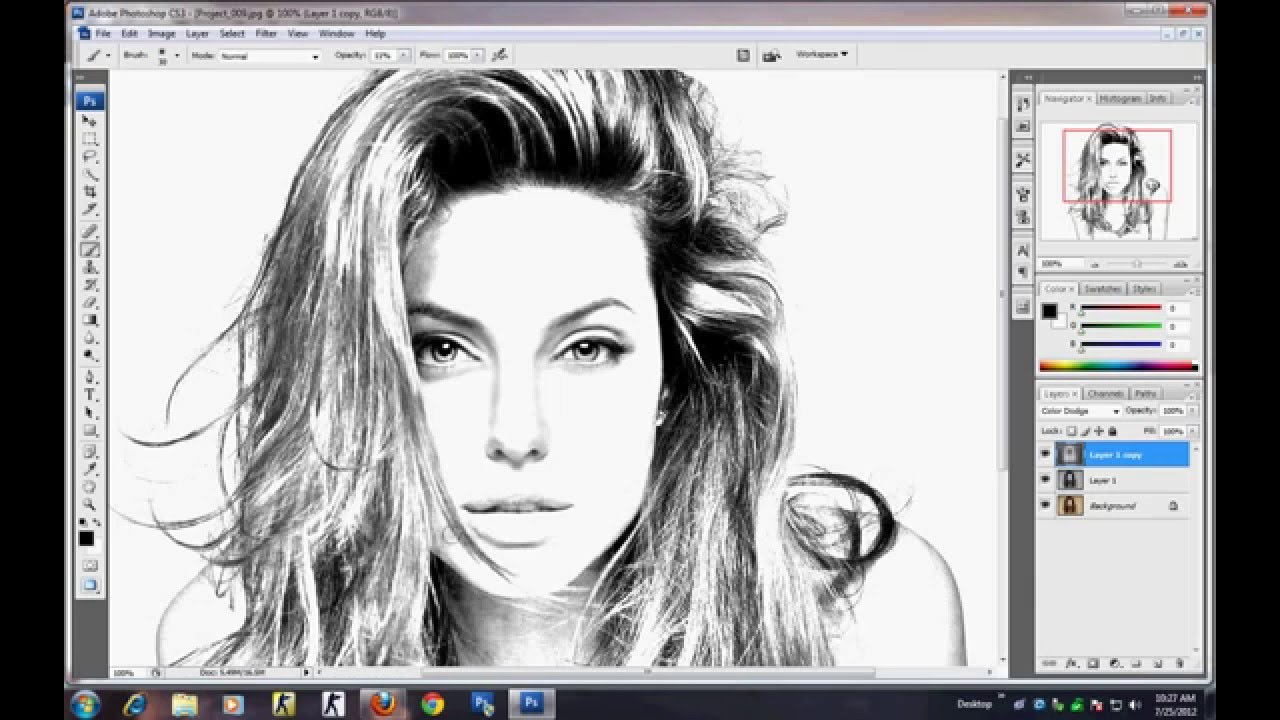
- The next course of action to create a new layer for the non-destructive Burn tool. For creating another new layer, press ctrl + shift + N/cmd+ shift + N
- Now press shift + F5. This will open the Fill box. Now change the value of ‘use’ to 50 % grey. Next step is changing the blend mode of layer 2 to overlay. This will make the layer 2 transparent and suitable for the use of non-destructive burn tool.
- Now go to the tool panel and select the burn tool. Now go to the options bar at the top and choose the range as “mid tones” and keep the exposure between 50-55%.
- The next step involves applying the brush to the area that needs to be darkened.
- The last step is to adjust the “levels” one more time to add a realistic touch to the image. For this double click on the layer ‘thumbnail’ of ‘levels’. Then drag the grey bar to the left to a value of 1.7 to decrease the contrast.
This gives you the desired pencil sketch you are looking for. The above steps when systematically followed will help you in modifying the image to pencil sketch. It is a no doubt a little difficult to make a pencil sketch from a regular image. However, with consistent practice, the process can be made easier to make sketching using this tablet.


