
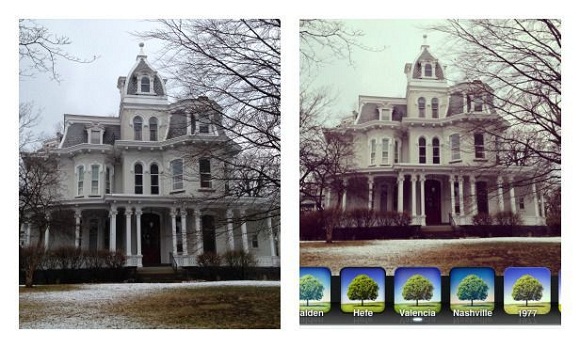
Instagram Sutro Filter in Photoshop
Instagram has been an effective social media platform for people who like uploading photos at will. The filters available on Instagram are very distinct, and each has a different set of settings that can be altered. In this article, we shall look into the methods that can be used to create Instagram Sutro filter in Photoshop.
Contents
STEP 1:
The first and foremost step is to upload the image into Photoshop. Then click on Layer>New Adjustment Layer>Brightness/Contrast. Now change the Brightness and Contrast value to +45 and +44 respectively.

STEP 2:
The next step is to reduce the saturation level of the image. Click on Layer>New adjustment Layer>Hue/Saturation and change the saturation value to -55.

STEP 3:
The next step is to add curves to the image. Click on Layer>New adjustment Layer>Curves. Ensure that the channel is blue and then lift the bottom left slider in the upwards direction (red colour encircle).
Then the green channel is selected, and the same procedure is repeated.
STEP 4:
The next step involves adjusting the level of the image. For this, click on Layer>New Adjustment Layer>Level. Then make sure that you select Red, blue and green channels in the same order and increase the Gamma value to 1.16.
STEP 5:
Then create a new layer by pressing Ctrl + Shift + N and rename this layer as ‘Vignette’.
STEP 6:
The next step is to go to the tool panel and select the Rectangular Marquee Tool and create a rectangle as shown in the image below. Then press Ctrl + Shift + I to invert the selection. Then go to Select>Refine Edge to add a feather and increase the value and click Ok.
STEP 7:
Then change the foreground colour to #b9b9b9 and press Alt + Backspace to fill the selection with the foreground colour. Now change the blending mode to Color Burn and decrease the opacity percentage to 71%.
STEP 8:
The last step involves adjusting the colour of the image. Click on Layer>New Adjustment layer>Colour Balance. Then increase the Cyan-Red slider to a value of +13.
Thus, we have successfully created the Instagram Sutro filter using Photoshop. The steps mentioned are specifically meant for beginners, and with due practice, the process will be much easier.


