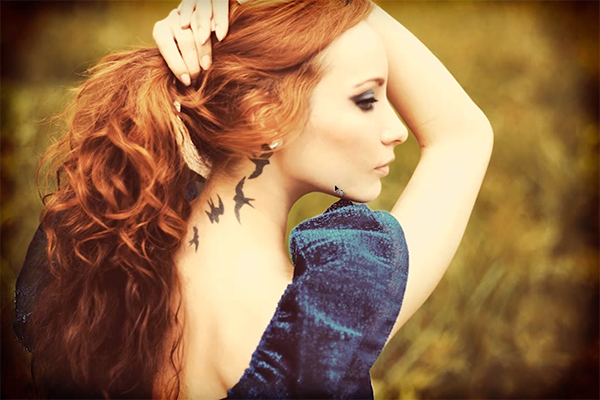
Instagram Earlybird Using Photoshop

Instagram Earlybird Using Photoshop
With a variety of editing options provided in Instagram, we are often tempted to use those effects in the pictures we are not sharing via Instagram. But that is where Photoshop comes in handy. Here are the steps to get Instagram Earlybird Using Photoshop:
Contents
Step 1:
After opening the picture in photoshop, the first thing we do is create a new blank layer by pressing ctrl+shift+N, and rename it as “Multiply”.
Step 2:
The next step in getting Instagram Earlybird using Photoshop, you will choose #fcf3d6 as your foreground colour and fill the “Multiply” layer with it by pressing alt+backspace.
Before proceeding further, change the blending mode to Multiply.
Step 3:
Now we’ll set the saturation to a low of -32. To do this go to Layer>New Adjustment Layer>Hue/Saturation.
We’ll need to modify the colour of the image accordingly. Go to Layer>New Adjustment Layer>Colour Balance. Set the tone to ‘Midtones’, slide the Cyan-Red slider to +33 and Yellow-Blue slider to -13.
Step 4:
Halfway through creating Instagram Earlybird filter using Photoshop, we will now change the levels by going to Layer>New Adjustment Layer>Levels. Change the levels as shown below.
Now to stack all the layers onto a new layer press ctrl+shift+alt+E, and rename it as ‘Stack’.
Step 5:
Next, to add a vignette effect, go to Filter>Lens Correction, and then Custom tab. After you’ve decreased the Amount to -100 and Midpoint to +19, you can press OK.
Now to add the Cooling Filter go to Layer>New Adjustment Layer>Photo Filter and increase the density to 17%.
Step 6:
Now to add the Warming Filter, again go to Layer>New Adjustment Layer>Photo Filter, and this time increase density to 26%
You have now managed a trick by creating Instagram Earlybird effect using Photoshop.


