
Create Double Exposure Image in Photoshop
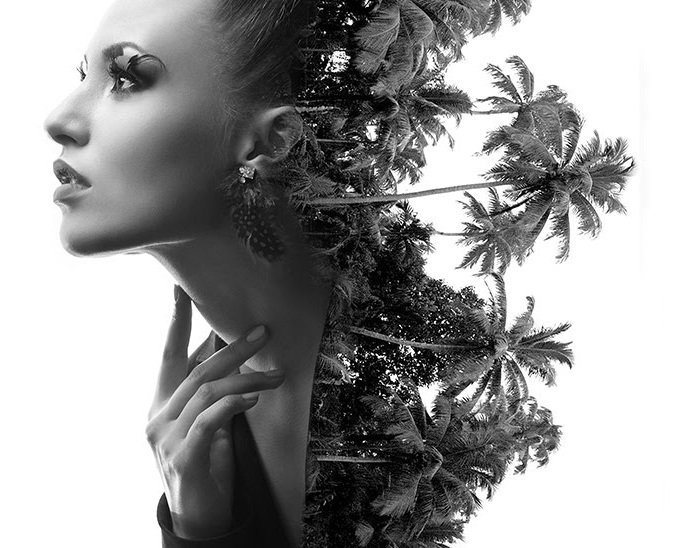
The editions in Photoshop provide a wide range of effects that can be added to a picture to make it more vibrant and effective. Here, in a few simple steps, we are going to create a double exposure images using Photoshop.
Contents
Step 1:
Start with opening the image in photoshop and go to Layer>New Adjustment layer> gradient map to use gradient effect for converting the image to black and white.

If the desired result is not obtained, you can click on gradient box above Dither option and choose encircled option inside gradient editor.

Step 2:
To make the lights pop up so that the image doesn’t appear dull, go to Layer>Adjustment Layer> Levels and drag the grey bar to 0.62 and white bar to 206. If this doesn’t suit your image, you can set the changes accordingly.

Step 3:
Now to place another image go to File> Place. If the alignment is not right, you can go to Edit>Free Transform, or you can press Ctrl+T. Then the handles will appear, and you can make the changes accordingly. Then press Enter.

And the work is half done in creating double exposure image in Photoshop.
Step 4:
Now change the Blend Mode of Layer 1 to Screen after which all the black area will be gone. Then, reduce the opacity to 71%.

Step 5:
Go to Layer> New Adjustment Layer> Curves. This will increase the highlights of the second image in the first one.

And now the last step to create double exposure image in Photoshop.
Step 6:
Now to change the second image to black and white follow the instructions in Step 1. Layer> New Adjustment Layer> Gradient Map.
And done. You have successfully created a double exposure image in Photoshop


